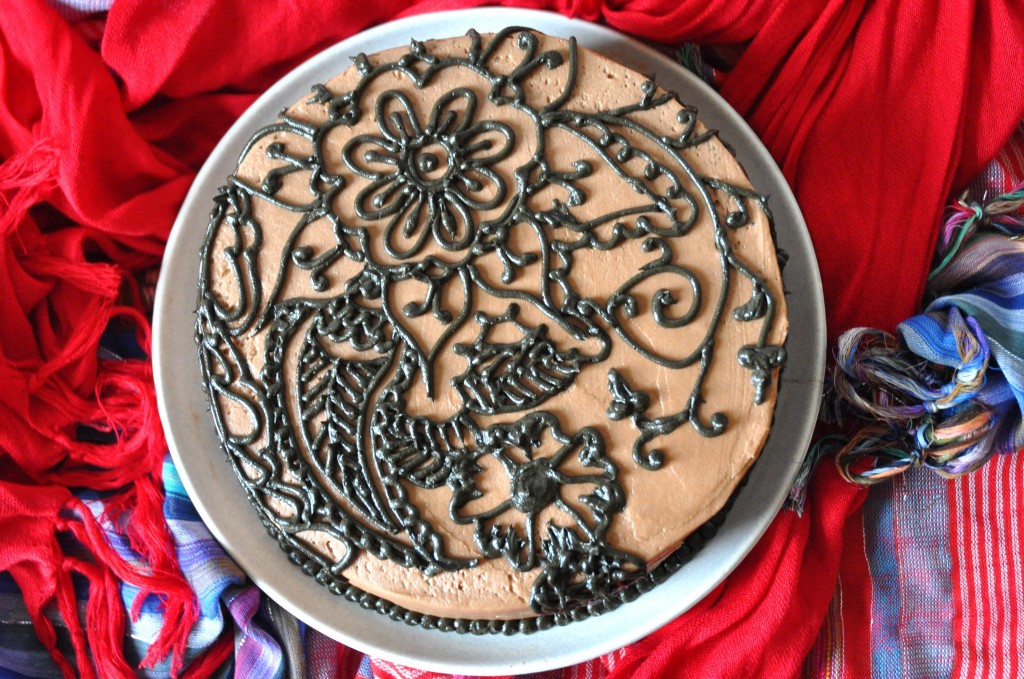
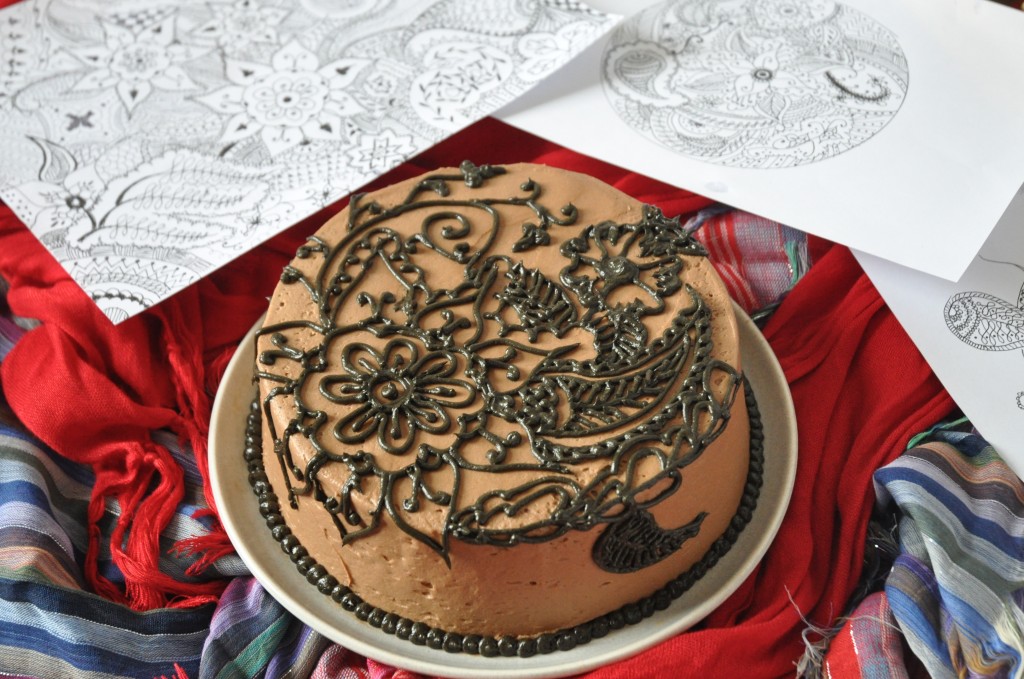
I have been interested in henna for a long time. Since I love cake decorating, it seemed a natural step to see if I could make a henna inspired cake. Henna is a plant based dye that you can use to temporarily tattoo your skin. Commonly you see henna tattoos on the hands and feet, however, I am reliably informed by wikipedia that it has been used since antiquity across various cultures to dye skin, hair, fingernails, and even fabrics. I usually associate it with the beautiful and exquisitely detailed designs you see on the hands and feet of brightly dressed and bangled brides.
Anyways, it was only recently that I got the idea of piping icing onto cakes using henna like designs. I came across a stunning set of Indian inspired cakes on a cake decorating website. The baker had used brightly coloured fondant and had piped on the henna designs in gold royal icing. It was so beautiful that I knew that I would have to try to make something similar, although on a more modest scale. I emailed the link to my Swindian friend and she demanded that I bake her a cake like the one in the pictures. Well, here is your cake, my friend… too bad you’re not here in Cambridge to eat it! ;)
Drawing the intricate patterns and designs is actually pretty simple! Sounds insane, I know, but a lot of it is just repetition of some basic shapes, such as semi-circles or angled lines (“fishbones”). I found this great website called the Henna Page which basically has everything you ever wanted to know about henna but didn’t even know what questions to ask! They have a great section that breaks down the different basic shapes and shows variations and how to integrate them into a larger design. I doodled a lot on paper to get in the hang of the style and drawing the various shapes.
The cake itself is the good old Cake of Death. This cake has never failed me once. I took in this cake to my clinical supervision today (after a rather precarious cycle 4km to the hospital with the cake in my bike basket – the cake made it there almost in one piece!). In less than an hour, more than half the cake was gone and one of my friends even licked his plate. :P The Nutella buttercream is lusciously smooth and addictive, just like Nutella itself. It’s the same recipe that I used for my Peanut Butter & Chocolate cake, but I just replaced the PB with Nutella. So good.
Hope you enjoy this cake as much as I did. Happy Baking!

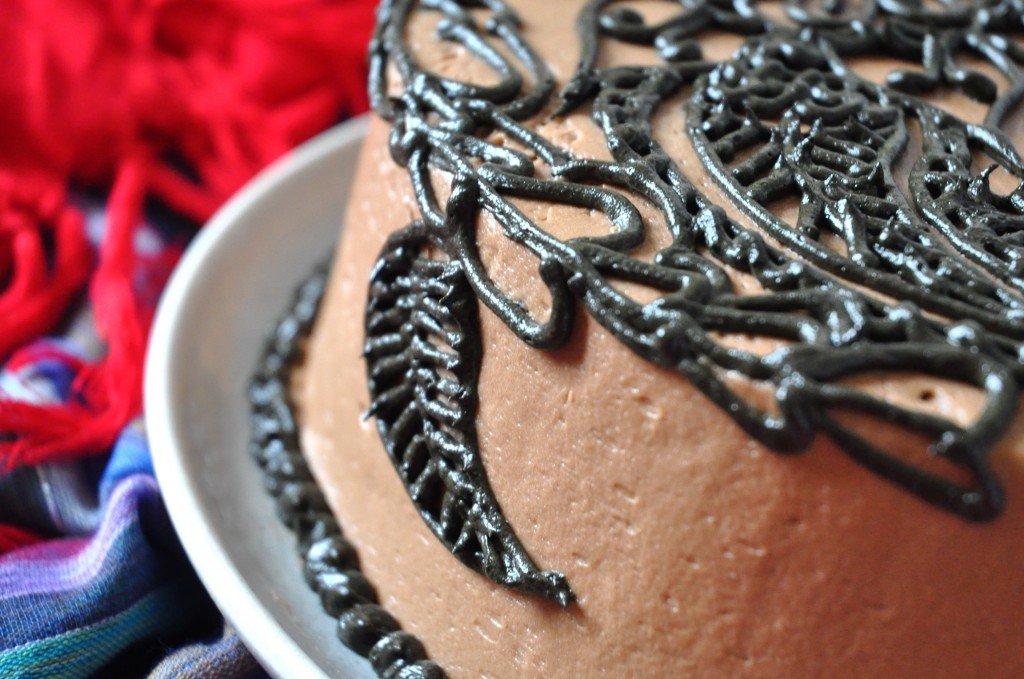
I also practised the designs by piping icing onto an inverted cake tin. It’s a really helpful to practice piping on the sides of the cake as well.
Nutella Cake
Cake of Death
Ingredients:
- 1 3/4 cups all-purpose flour
- 2 cups white sugar
- 3/4 cup unsweetened cocoa powder
- 2 teaspoons baking soda
- 1 teaspoon baking powder
- 1 teaspoon salt
- 2 eggs
- 1 cup strong brewed coffee, room temperature
- 1 cup buttermilk (add a few tsp of white vinegar or lemon juice to the milk)
- 1/2 cup vegetable oil
- 1 teaspoon vanilla extract
Instructions:
- Preheat oven to 350 degrees F (175 degrees C). Grease, coat with cocoa powder, and line with baking parhcment two 8 inch round cake pans.
- In large bowl combine flour, sugar, cocoa, baking soda, baking powder and salt. Make a well in the center.
- Add eggs, coffee, buttermilk, oil and vanilla. Beat for 2 minutes on medium speed. Batter will be thin. Pour into prepared pans.
- Bake at 350 degrees F (175 degrees C) for 40-45 minutes, or until toothpick inserted into center of cake comes out clean. Cool for 10 minutes, then remove from pans and finish cooling on a wire rack. Fill and frost as desired. Keep refrigerated until 30 minutes before serving.
Nutella Buttercream
Makes enough to fill and ice one 2 layer 8″ cake
Ingredients:
- 250g unsalted butter, softened
- 255g Nutella
- 375g icing sugar, sifted
- 125 ml double cream (don’t substitute for milk or single cream!)
Instructions:
- Cream the butter and Nutella on high for 2-3 minutes. The colour should lighten by a few shades and it should be very smooth and fluffy.
- With the electric mixer on low, gradually add in the icing sugar. Add a little at a time and make sure it is mostly incorporated before adding more. Failure to do so could result in your kitchen being covered in icing sugar!
- Add the double cream and beat on high for another 2-3 minutes, or until the buttercream is so dreamily light and fluffy you cannot resist it any longer.
- Use immediately and frost and fill cake as desired.
- To make the piping icing: add 2 tsp of golden syrup to ~1 cup of the icing. Also add lots of black food colouring and about 1/4 c of sifted cocoa powder. Mix until you’ve reached your desired shade. It’s not an exact science!


