I had a startling realisation a few months ago when I was looking back through my recipes as I put together my cookbook. My blog would be turning 5 years old in April! I almost could not believe it! When I started the Baking Medic, I had no real aims to make it last this long. I had just been inspired by the many other talented bakers out there in the food blogging world. Creating my own blog seemed like a fun adventure, even if it was well out of my comfort zone. I can’t remember how I came up with the name “the Baking Medic”, but it just seemed to sum me up as a person pretty well. :)

My one piece of (unsolicited) advice to any of my friends who are considering starting a blog is that you have to decide what is motivating you. If your motivation stems from wanting “likes” and “shares”, then I’m afraid you’ll find blogging pretty dissatisfying. Let’s face it – my blog is one of thousands of other baking blogs on the internet. This blog has lasted so long because I love baking and I love sharing.  Not because I have craved comments, or coveted the number of hits each post has got. So go start a blog! It’s great fun and a worthwhile venture, but remember you’re posting for yourself and not some imaginary audience. :)

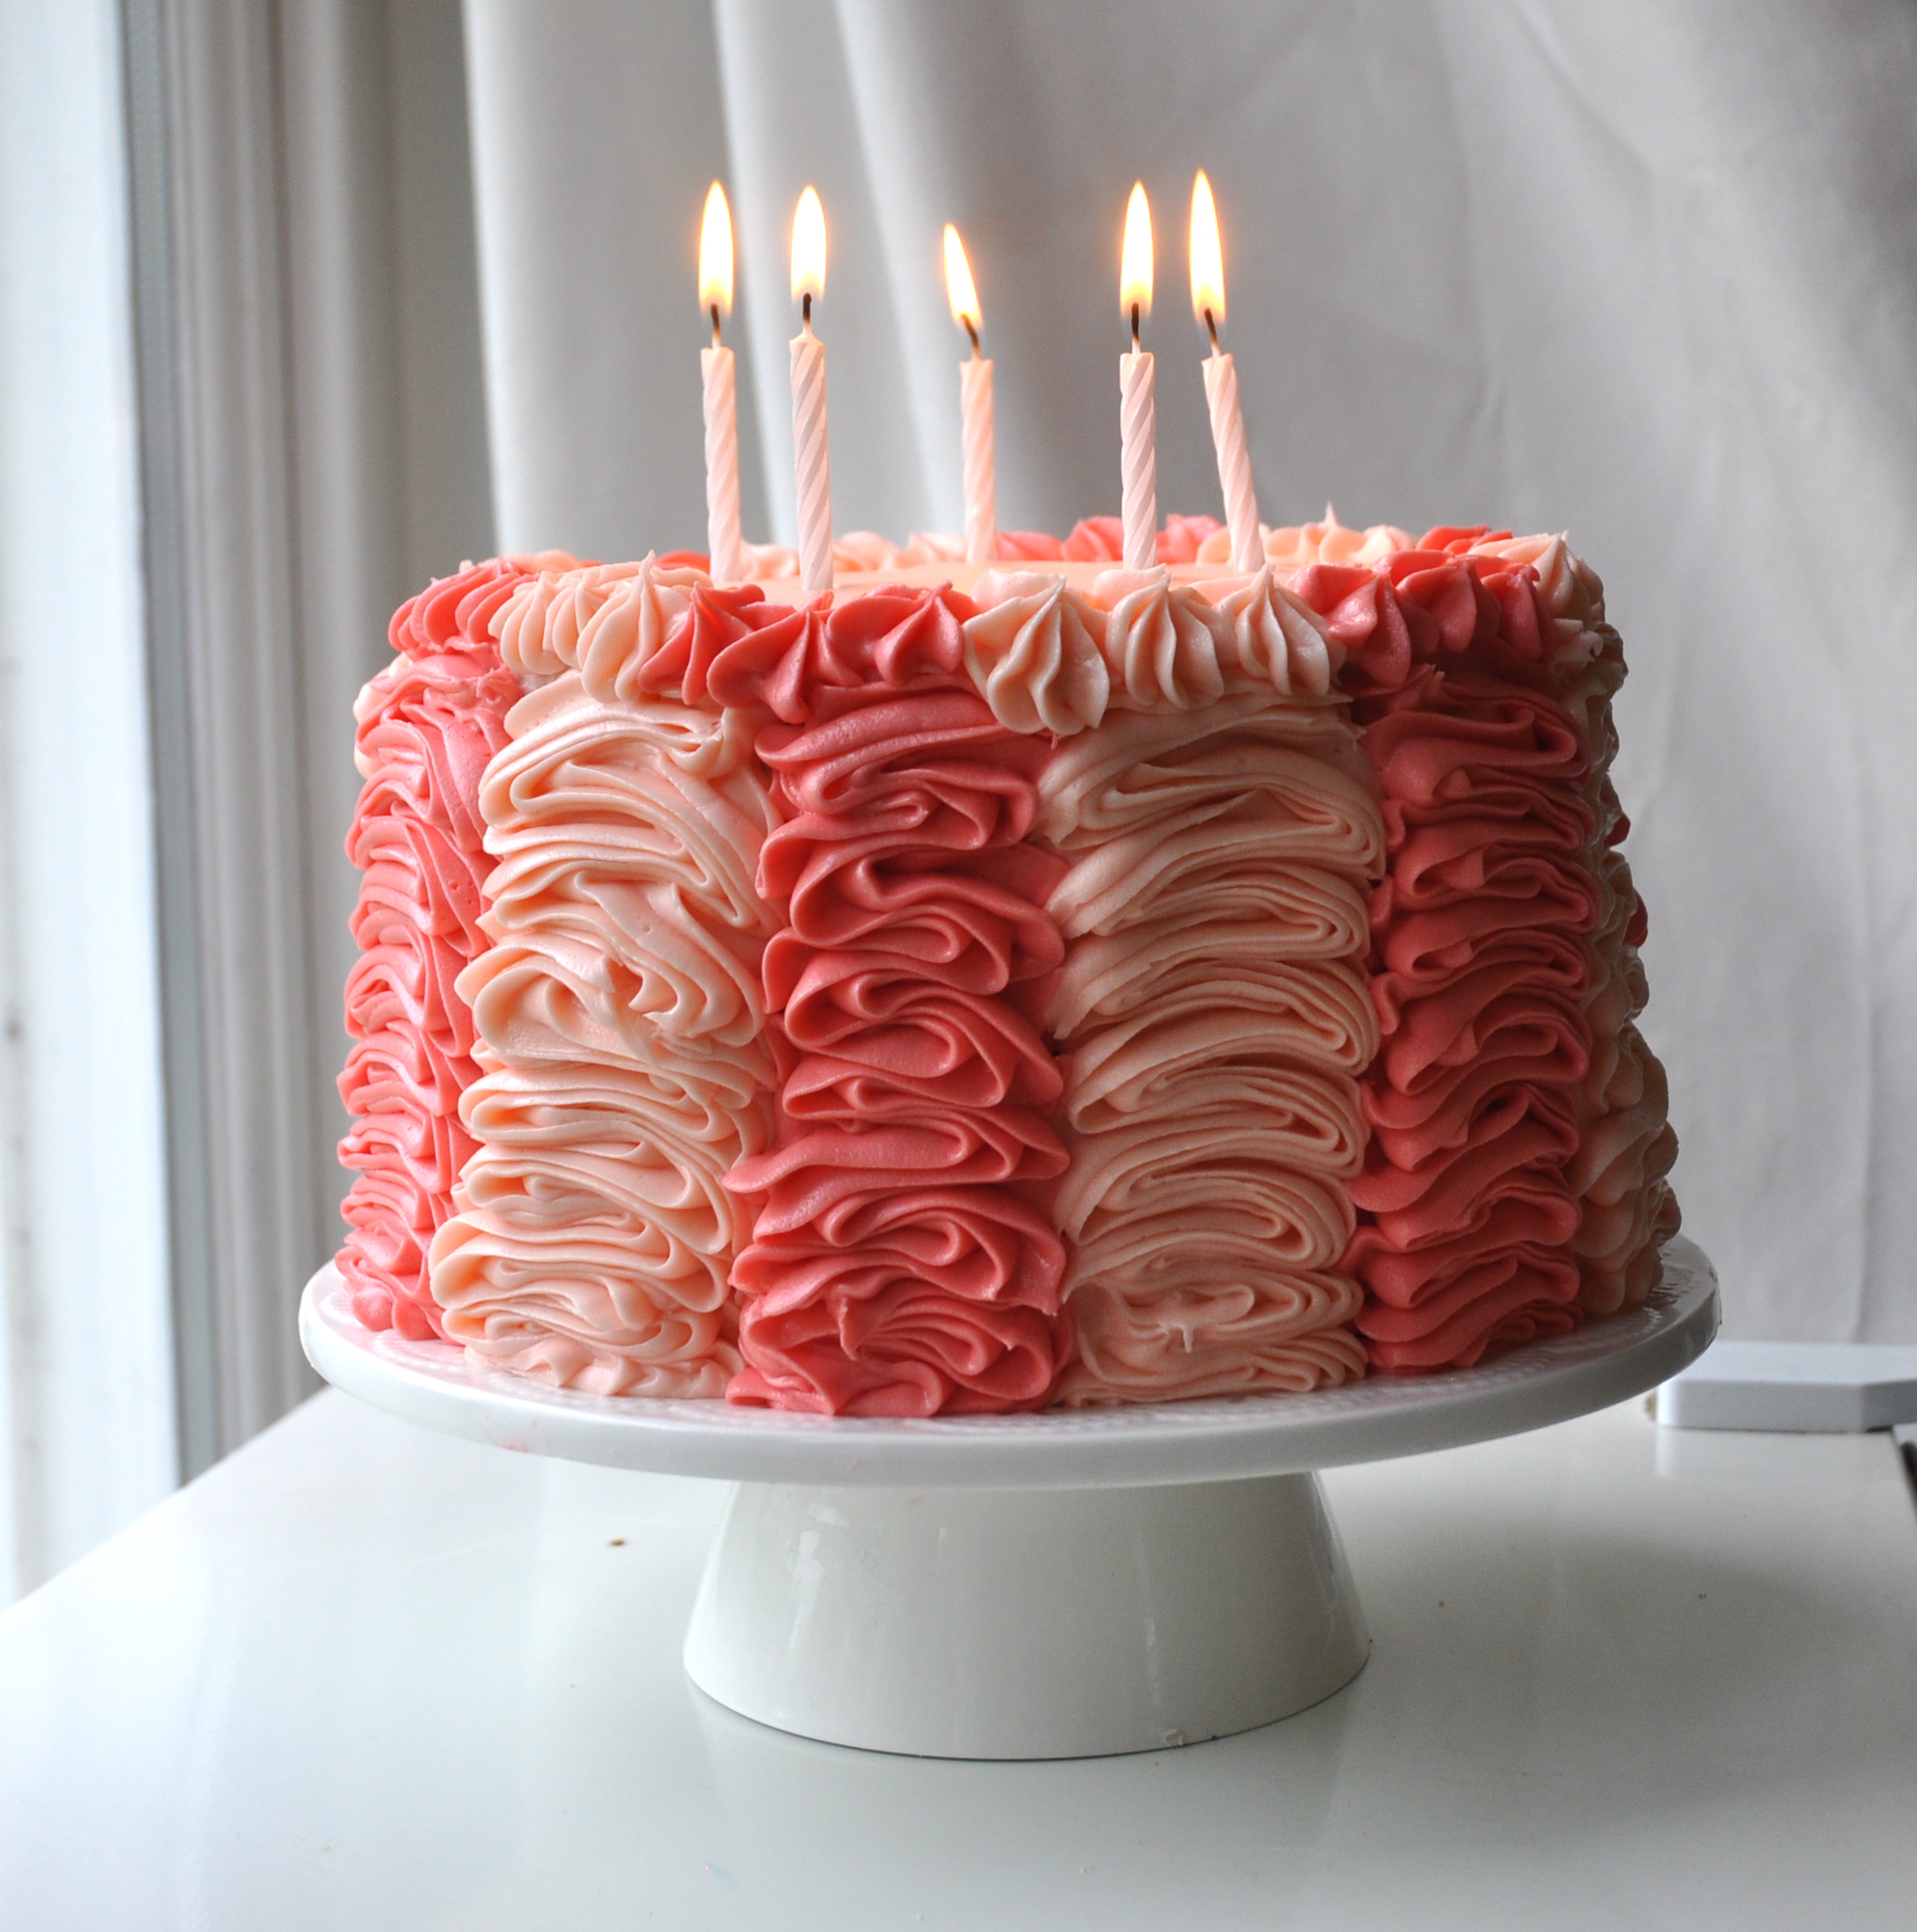
7 layers of heaven. :)
Now a bit about this cake. I don’t think I’ve ever made a cake with as many layers as this one. In actuality, I only baked 3 separate cakes. The yellow cake was torted into 3 layers and each chocolate cake was cut in half. I also had to insert a wooden dowel into the centre of the cake to keep the layers from sliding around. Although this cake was a pretty massive undertaking, the actual icing was simple and quick. It uses a lot of icing though. The slices in the photos could easily serve two people!
It’s a deliciously indulgent cake though. Seven layers of chocolate and vanilla cake, sandwiched with strawberry jam icing and then lavished with cream cheese icing. As my exams loom closer, this may be my last post until my post-exam baking. I’m glad I made it a doozy!
Thank you to all my friends and family. I love you all and I am nothing without my taste testers. :)
Happy baking!

Seven Layer Chocolate and Vanilla Cake
Chocolate Cake
Ingredients
- 1 3/4 cups/220g all-purpose flour
- 2 cups/400g white sugar
- 3/4 cup/ 90g unsweetened cocoa powder
- 2 teaspoons baking soda
- 1 teaspoon baking powder
- 1 teaspoon salt
- 2 eggs
- 1 cup/250 ml strong brewed coffee, room temperature
- 1 cup/250ml buttermilk (add a few tsp of white vinegar or lemon juice to the milk)
- 1/2 cup/125ml vegetable oil
- 1 teaspoon vanilla extract
Instructions
- Preheat oven to 350 degrees F (175 degrees C). Grease, coat with cocoa powder, and line with baking parchment two 8 inch round cake pans.
- In large bowl combine flour, sugar, cocoa, baking soda, baking powder and salt. Make a well in the center.
- Add eggs, coffee, buttermilk, oil and vanilla. Beat for 2 minutes on medium speed. Batter will be thin. Pour into prepared pans.
- Bake at 350 degrees F (175 degrees C) for 40-45 minutes, or until toothpick inserted into center of cake comes out clean. Cool for 10 minutes, then remove from pans and finish cooling on a wire rack. See below for decorating instructions.
Vanilla Cake
Ingredients
- Â 250g cake flour (230g flour + 20g cornstarch)
- 1 tsp baking powder
- 3/4 tsp baking soda
- 1/2 tsp salt
- 200g white sugar
- 125g unsalted butter, softened
- 1 tsp vanilla
- 2 large eggs, room temperature
- 250ml buttermilk (250ml milk + 1-2 tsp white vinegar)
Instructions
- Preheat the oven to 175C/350F. Butter and flour an 8″ cake tin and line with a round of parchment paper.
- Sift together the cake flour, baking power, baking soda, and salt in a medium sized mixing bowl. Set aside.
- Cream together the butter and sugar using an electric mixer on high speed until light and fluffy, around 2-3 minutes. Beat in the vanilla extract.
- Mix in each egg one at a time, beating well after each addition.
- With the mixer on low speed, add 1/3 of the flour mixture. Beat until just combined. Add 1/2 half of the buttermilk and mix well. Add 1/2 of the remaining flour mixture (i.e. the second 1/3rd) and mix well. Add the rest of the buttermilk. Finally mix in the rest of the flour mixture until just combined.
- Spread evenly in the prepared pan and bake in preheated oven 35-40 minutes or until a tooth pick inserted into the centre comes out clean. Cool in pans for 10 minutes before inverting onto a wire rack to cool completely. Ice as desired.
Cream Cheese Icing
Note: I made a double recipe of the one below. The piping technique uses a LOT of icing. If you are icing it normally and not slicing the layers, then 1 recipe should definitely be enough.
Ingredients
- 250g unsalted butter, softened
- 250g full fat cream cheese, room temperature
- 1 tbsp vanilla
- 1 kg icing sugar, sifted
- Red gel food colouring (optional)
Instructions
- Using an electric mixer, cream together the butter and the cream cheese until light, fluffy and fully mixed, around 2-3 minutes. Beat in the vanilla extract.
- Gradually add in the icing sugar, with the mixture on low speed. If the icing gets too stiff, add milk 1 tbsp at a time until the desired consistency is reached.
- Once all the icing sugar as been added, turn the mixer to high speed and beat for a further 1 minute. Beat in any food colouring if desired.Â
Assembly
You will need:
- 2×8″ chocolate cakes
- 1×8″ vanilla cake
- 2 recipes of the cream cheese icing
- ~125ml strawberry jam, vigorously stirred
- red food colouring
- a cake board (optional)
- a wooden dowel (optional)
- an off set spatula (optional)
- a cake leveller (optional)
- 2 large piping bags
- 2 large star tips (e.g. 1M or 2D)
Instructions
- Using either a serrated knife or a cake leveller, cut each chocolate cake in half. Cut the vanilla cake into 3 equal layers. You should have seven layers in total.Â
- Smear a bit of icing onto the disposable cake board. Place a layer of chocolate cake onto it. Spread a thin layer of icing over the layer, making sure you go right to the edges. Top with a layer of strawberry jam.
- Next, add a layer of vanilla cake. Spread a thin layer of icing over the top, making sure it reaches the edges. Spread a dollop of strawberry jam over the icing.
- Repeat steps 2 and 3, alternating the layers between chocolate and vanilla. When you have reached the final chocolate layer on top, place a large dollop of icing on the cake. Evenly crumb coat the cake by spreading a thin layer of icing over all the surfaces. Don’t worry about getting crumbs in the icing. The purpose of the crumb coat is to lock in the crumbs so they won’t get in the way later.
- Insert a wooden dowel into the centre of the cake. This is optional, it will help stop the many layers from sliding around. Chill the crumb coated cake for 15 – 20 minutes.
- While the cake is chilling, divide the icing into 2 roughly equal portions. Make one of the portions slightly bigger.
- Add some red gel food colouring to the smaller portion until you get your desired shade of darker pink.
- Fill both piping bags fitted with large star tips with icing and decorate the cake as shown here in this fantastic tutorial.
- Collapse from a cake overdose. You are done!