So if you’ve ever made a cake, you’ve probably been there. You look at your creation, fresh out of the oven, filling your kitchen with the tempting aromas of freshly baked cake. It is perfection. You are a baking god. And then comes the critical task of getting your flawless cake out of its tin and onto the cooling rack. You’re riding on a wave of confidence from your previous success. You flip your cake, give the bottom of the tin a few hopeful taps, and gingerly pull the cake tin upwards, desperate to see your beautiful prize. Only to have your hopes dash themselves against a harsh truth – your perfect cake is a crumby mess, half stuck to the bottom of the cake tin. You frantically scrape off the bits that stuck, press them back onto your cake. It’s okay, you mutter to yourself, it’ll taste just the same, right? Once it’s iced nobody will know. But as you struggle to keep your disappointment at bay, deep down you know that you just haven’t given that cake the best start in life. Well, those dark days will soon be a part of the past. I’m here to show you how to make a cake that will never stick to the bottom of the pan. I promise.
The secret to success lies in careful preparation. The steps below can seem a bit tedious, but trust me, the times I haven’t gone through all the steps have ended in frustrated tears.
You will need:
- cake tins
- baking parchment
- soft butter
- cocoa or flour
- pair of scissors
- butter knife/offset palette knife
Preparing your cake tin:
Cut a piece of baking parchment that is as wide as your cake tin. Fold it in half, then in quarters, then in eighths so that have a vaguely triangularly shaped piece of parchment paper. Turn your cake tin over and position your parchment paper such that the point is in the centre of the cake tin and the base is out towards the edge.
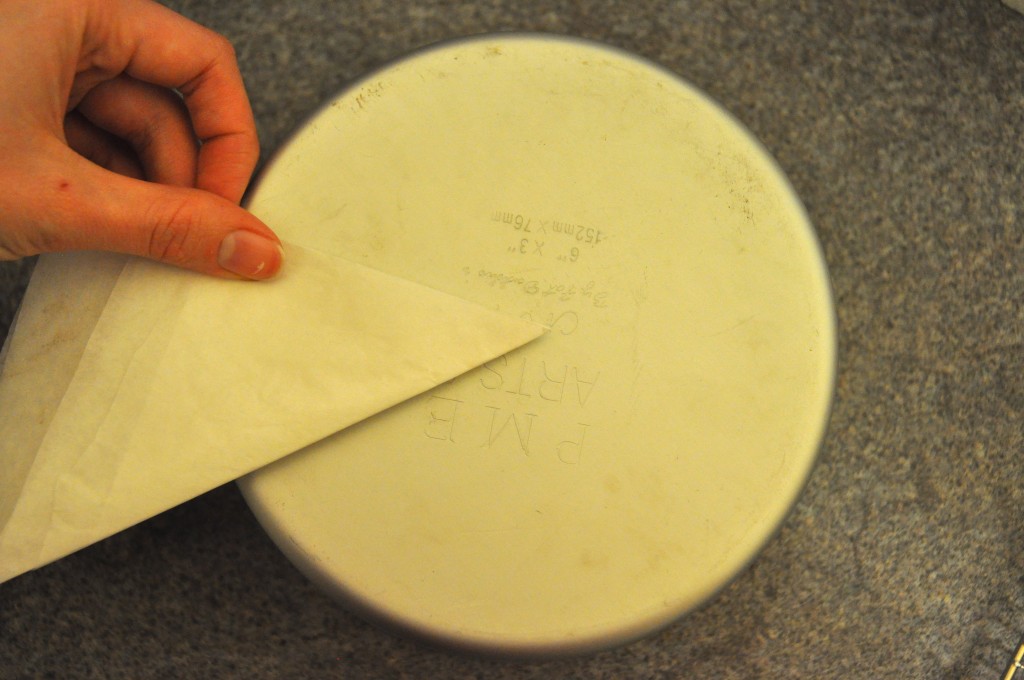
With your folded parchment paper, position it so that the point is in the centre of the bottom of the cake tin.
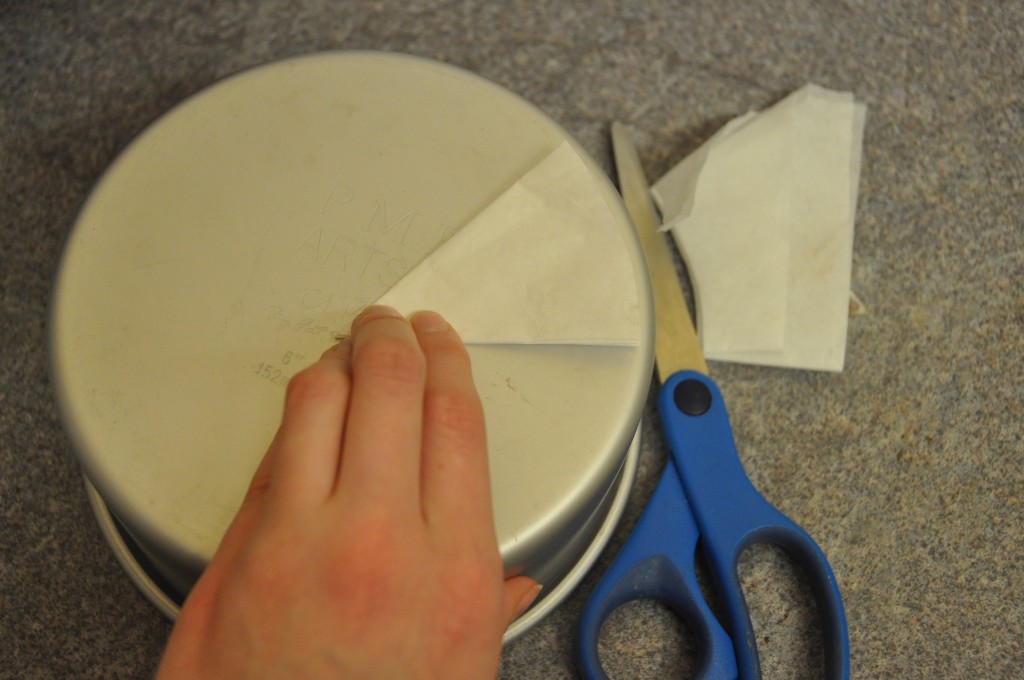
Using a pair of scissors, cut the base of the triangle so that it follows the round edge of the cake tin. You want to cut the triangle so that it is just smaller than the edge of the tin. Flip your cake tin back over and unfold the parchment. It should form a circle that fits nicely in the bottom of your cake tin. If it’s still a bit big, fold it bake into the triangle and trim it down a bit more.
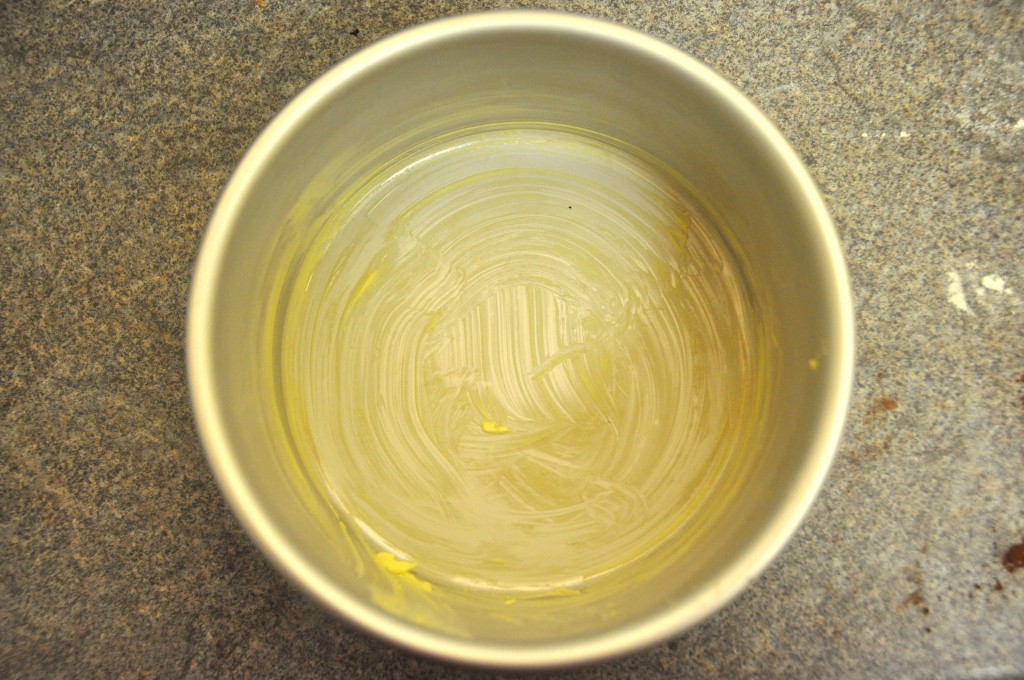
Butter your cake tins. Put a knob of soft butter on a piece of paper towel and butter the bottom and the sides (up to the top) of your cake tins.
Butter one side of your parchment paper circle.
Flour the inside of your cake tin. If making chocolate cake, I use cocoa powder but if I’m making any other type of cake I just use flour. Drop a spoonful of flour/cocoa into the centre of your cake tin. Turn the cake tin around, tapping the edges as you go, so that the bottom and the walls are all coated. Tip off any excess.

Place your parchment paper butter side up in the bottom of your cake tin. Add a small spoonful of cocoa/flour. As before, turn your cake tin around and tap the edges so that the buttery side of the parchment paper is coated in a thin layer of cocoa/flour. Use a fingertip to lightly hold the parchment paper in place, tip out any leftover cocoa/flour.
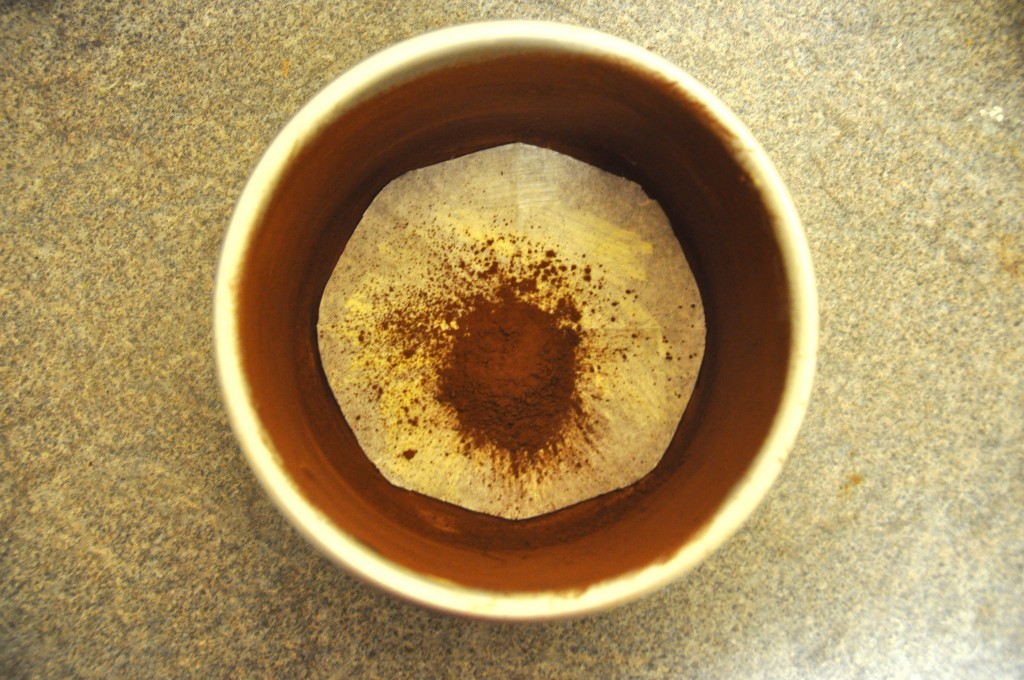
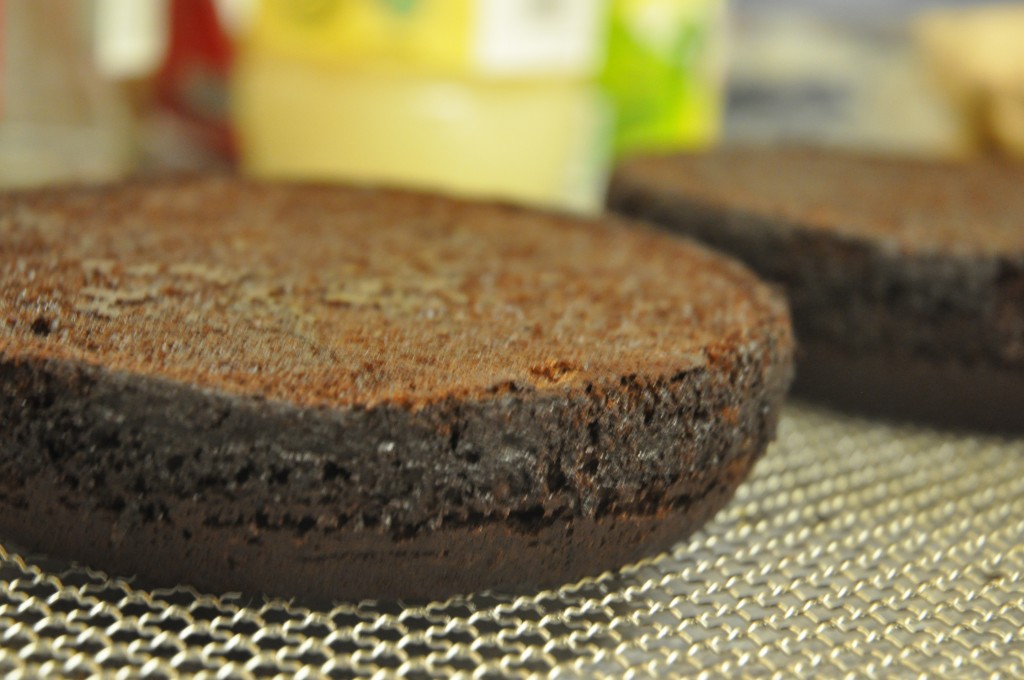
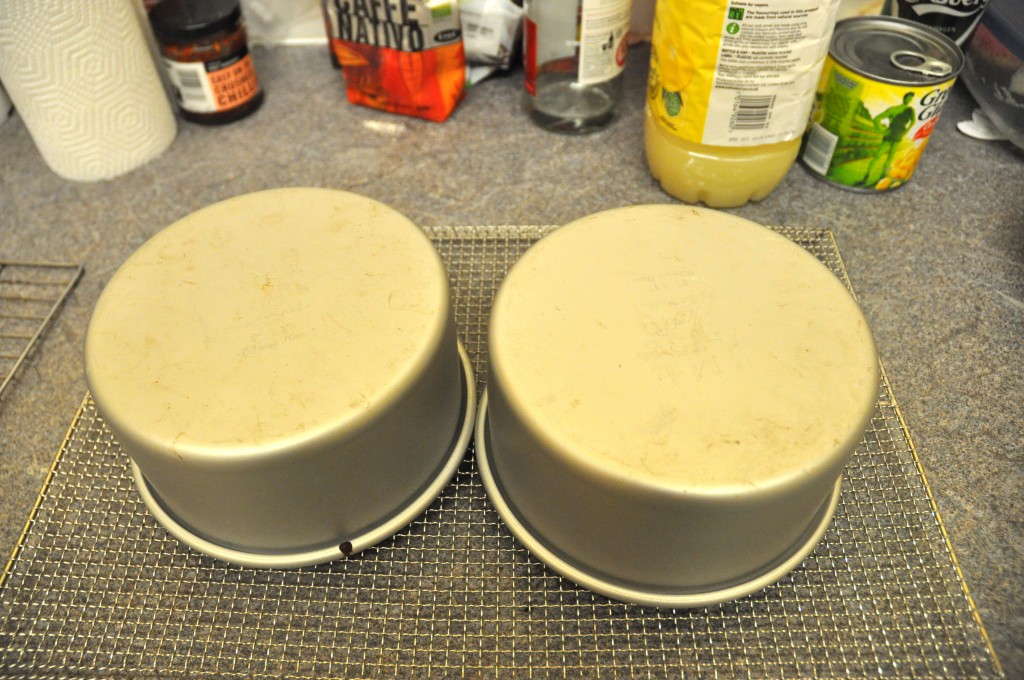
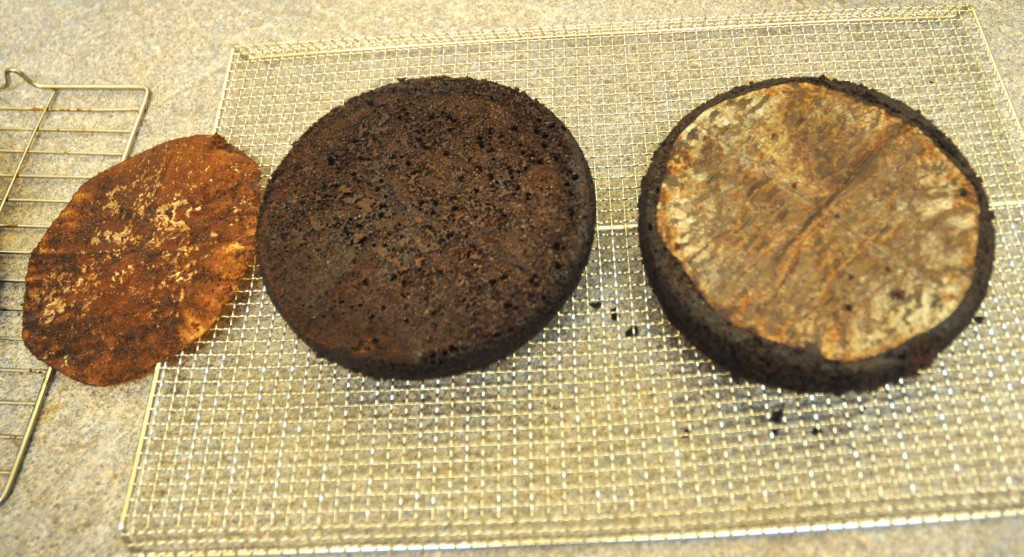
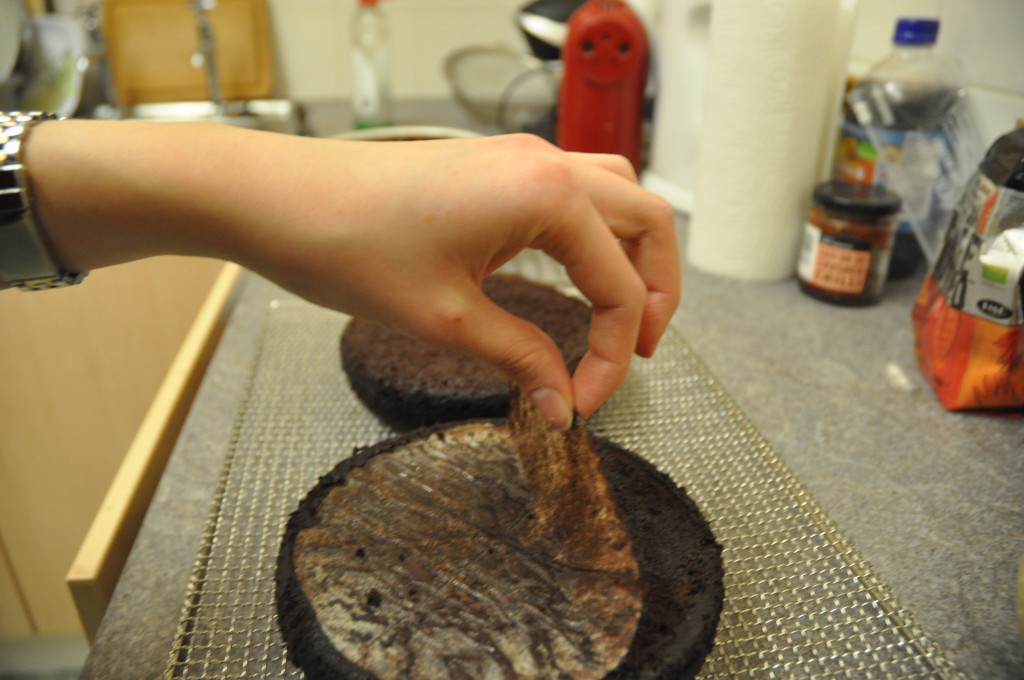
Et voila! Your cake tins are ready to be filled and bake as directed by your recipe. Once the cake is finished (i.e. a toothpick inserted into the centre comes out clean), let the cakes cool in their tins for 10 minutes. After 10 minutes, run a knife around the edge of your cake and flip onto a cooling rack. The cakes should slide out as soon as you have inverted the tins. Gently tap on the back of the tin (just to make sure!) and lift it up. Remove the rounds of baking parchment and cool completely.
Well, guys, this has been my first post in a while. As always, I am ever baking but forever not taking photos of what I bake. I decided to upload this tutorial as it’s such an essential part of cake baking, but so irritating when it goes wrong. I’m baking a large two tiered cake for a friend’s engagement party on the weekend, so stay tuned for more pictures of it’s creation! These 6″ chocolate cakes are for the top tier.
Anyways, if you liked this tutorial, please leave a comment! :)



Comments are closed.