Icing your cake is one of the final but most crucial steps to creating a beautiful and tasty cake. Even if you have managed to prepare your cake tins like a pro, stack your cakes like a boss, your magnificent creation could still fall flat when you finally try to clear that final hurdle – icing the darn thing. Speaking from experience, I know how frustrating it is to have those pesky crumbs peeping through your coat of icing – no matter what you do, you can’t seem to get rid of them all. ‘Crumb coating’ your cake is a way to make sure that you don’t get crumbs in your icing, but like preparing a cake tin, it takes a bit extra time and patience. So if you’ve got the time, great! But if you’re in a bit of rush and don’t mind a few crumbs in your icing, feel free to skip the crumb coat – maybe just don’t use white icing for a chocolate cake. :P
Below are instructions on how to stack a layer cake and also how to crumb coat it. Hope they’re helpful!
Stacking a layer cake
If your cakes have domed during baking, make sure your layers are levelled before starting. You can do this using a cake leveller, carefully trimming the tops with a bread knife (brave! I don’t trust myself to do this evenly), or by gently flattening the dome of your cake with a piece of paper towel as soon as it has come out of the oven. The last option is my personal favourite – doesn’t make your cakes dense but makes them nice and level with no waste. Be careful not to burn yourself though!
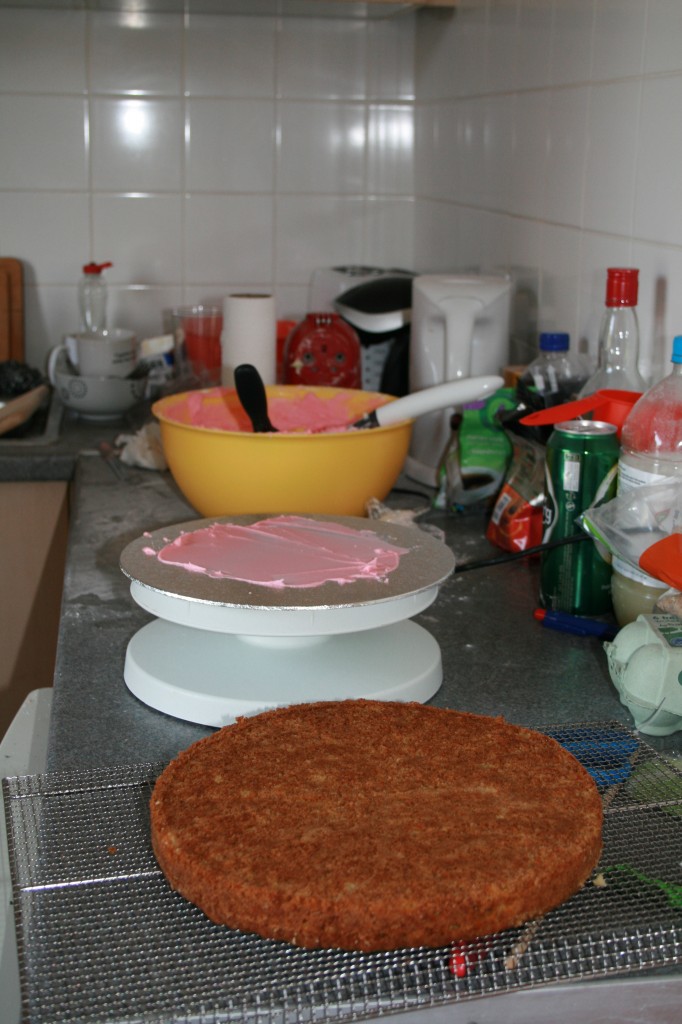
Smooth a dab of icing over the cake board/plate that your cake is going to sit on. This helps glue the cake to the board and prevents it sliding about.

Prepare the cake board by smearing a dab of icing over it. This will help the cake stick to the board.
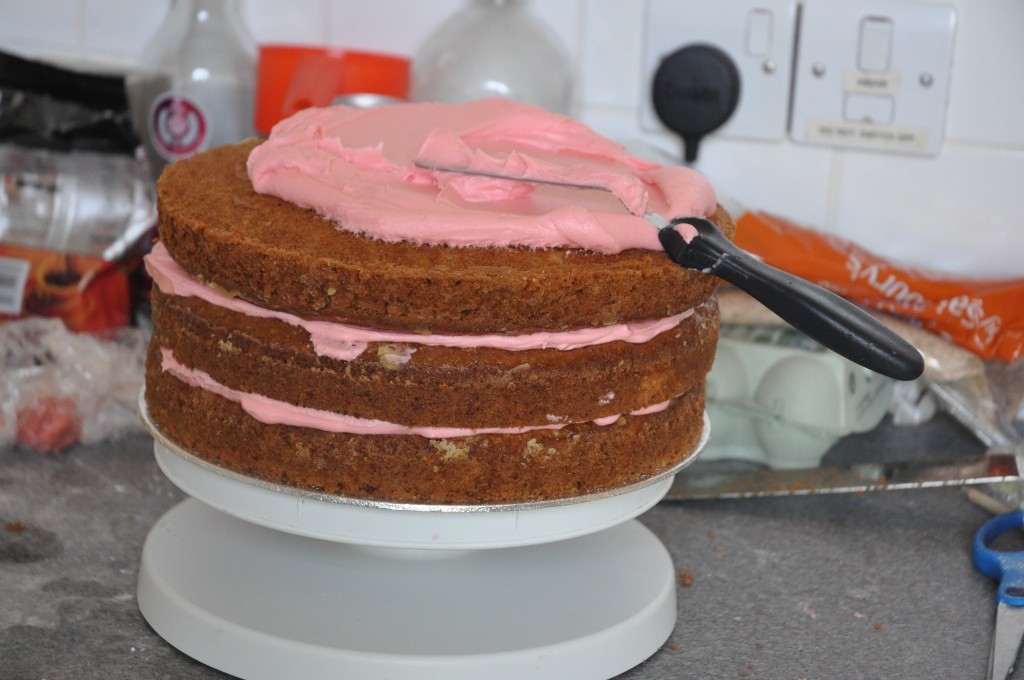
Depending on the size of cake, you will want to add more or less filling. I normally eyeball it, aiming for a layer that is about a ¼ inch thick. Spread out the icing, keeping a ½ inch border around the edge of the cake.
Two layer cake: Place your bottom layer flat side down and “dome†side up. You will place the top layer “dome” side down.
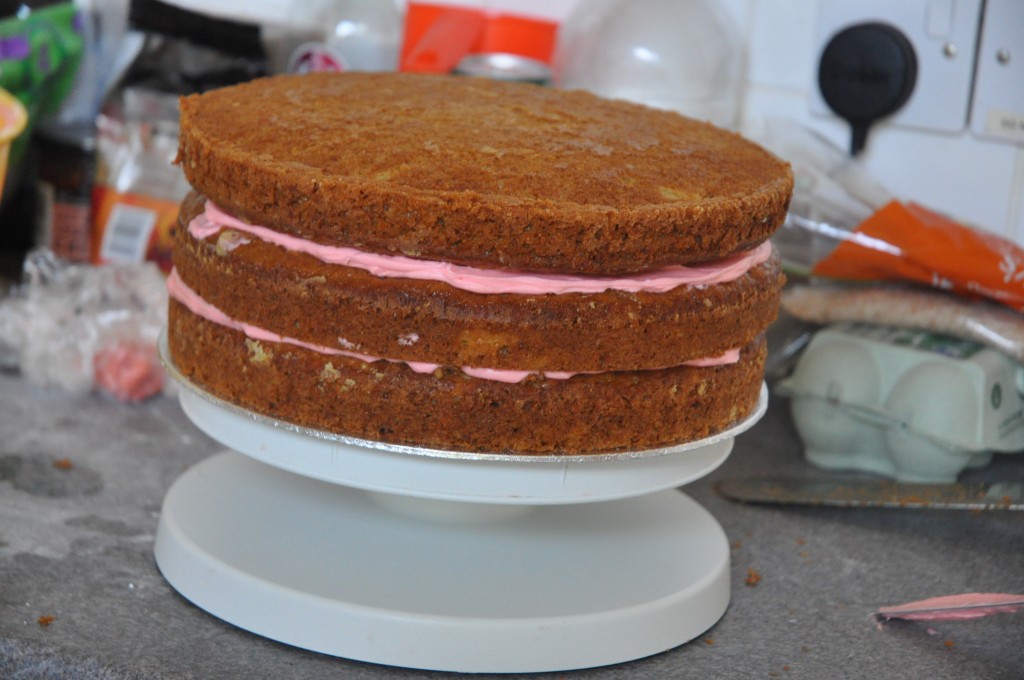
Three layer cake: Place your first layer “dome” side up and add filling. Then continue exactly as for a two layer cake, with the middle layer “dome” side up and the top layer “dome” side down. Make sense?

This is for a 3 layer cake. For a 3 layer cake, I put the bottom layer dome side up and then continue as if it were a 2 layer cake.
If you’re filling your cake with something other than your icing then it’s a good idea to pipe an icing “dam†around the edge of the layer. This will prevent the filling from spilling out and contaminating the outside icing.

This is for another cake I made - chocolate cake with a chocolate fudge icing and dulce de leche filling. See the dam of icing holding the dulce de leche at bay? (and excuse the poor quality of the image - this was taken on my mobile!)
Place your second layer “dome†side down and top side up. If your layer isn’t quite centre, gently nudge it over so that the sides of your layers line up nice and straight.
The Crumb Coat:
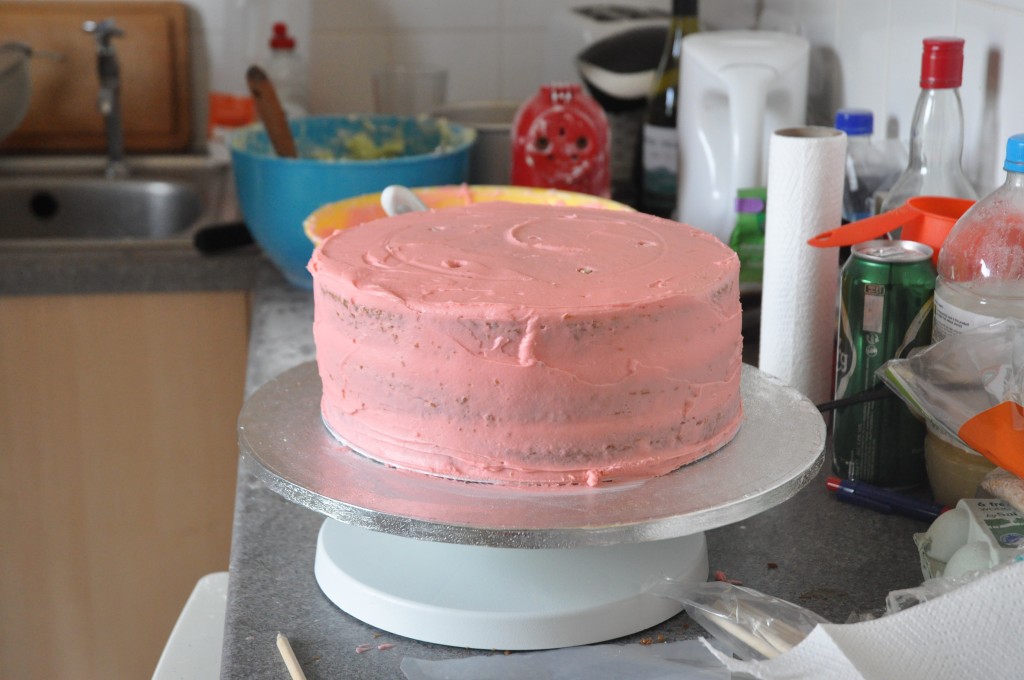
The point of the crumb coat is to catch all those annoying bits of cake that break off and get mixed up in the icing. Basically, you apply a very thin layer of icing, as messy as you like. The cake is then refrigerated for about 15 – 20 minutes, which “seals†in all those crumbs. Once the cake is chilled, you can safely apply your second top coat of icing without fear of crumbs poking through.

Start by icing the top of your cake. I prefer to use a small offset spatula to ice my cakes as I feel it gives me the most control.

Icing the sides can be a bit tricky, but gets easier with practice... so that means you need to make lots and lots of cakes, right? ;)
Once you have completely covered the top of the cake, smooth the icing out so that a little lip hangs out over the edge. Take a large dollop of icing and put in on the sides. Work around the cake (a turning table makes your life a lot easier!), adding more icing as necessary and fill in any holes, gaps or depressions. Continue until all surfaces are covered. Then run your spatula along the sides of the cake, smoothing them. You may create a little bump along the edge of the top of your cake – that’s okay – just smooth it out using sweeping motions across the top of the cake towards you. Sounds complicated, but it’s easy! It just takes a bit of practice. :)

