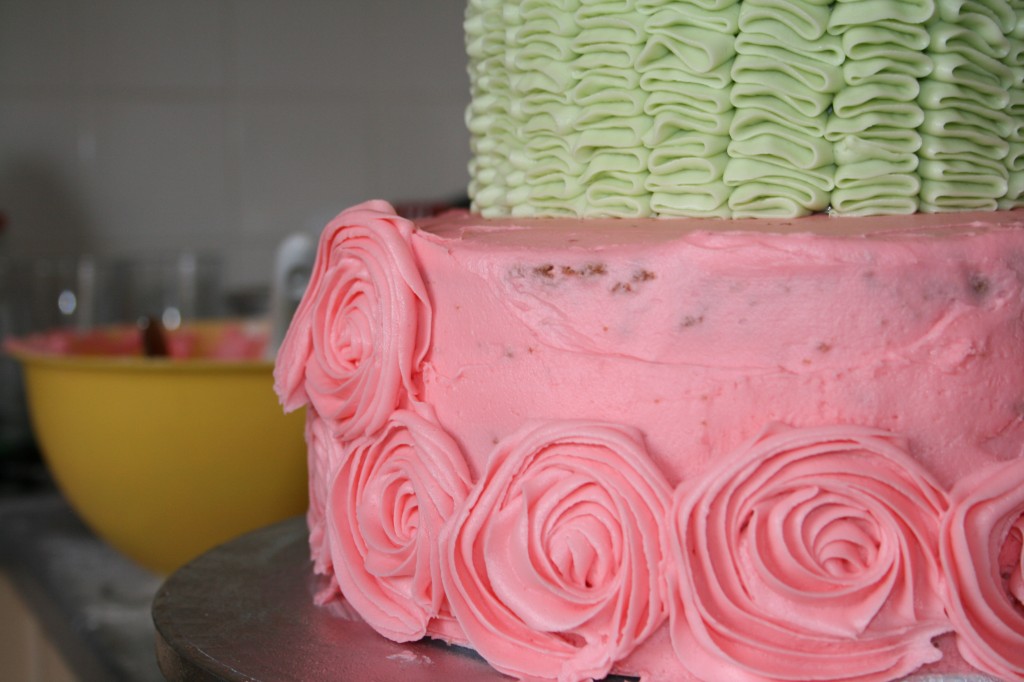
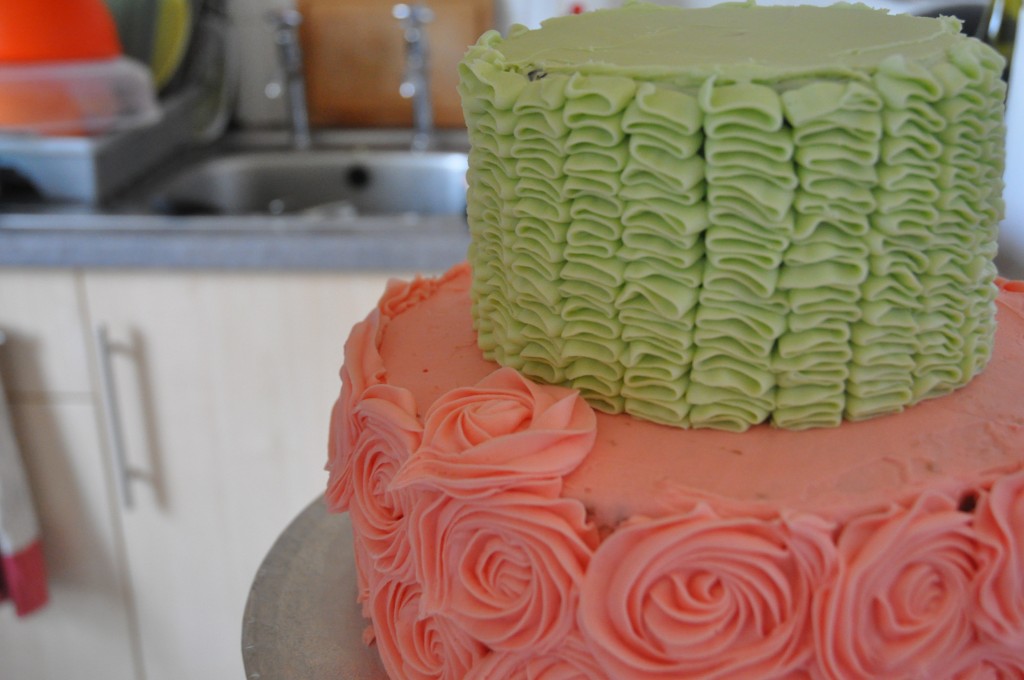
About a month ago, I made a two tiered cake for my friend’s engagement party. It was a carrot cake on the bottom and a chocolate cake on top, both covered in cream cheese buttercream. To decorate them, I used two of my favourite piping techniques, buttercream roses and buttercream ruffles. Both look stunning but are actually dead simple. Unfortunately, I can’t take credit for inventing either of them.
The buttercream roses were I think originally invented by one of my favourite food bloggers, IAmBaker. Since then, this technique has exploded in popularity with recipes for buttercream rose cakes, cupcakes, cookies, and tutorials all over the internet. I would definitely recommending the tutorial that I used to first learn how to make the buttercream roses. You can find it on her website here. I’ve included a brief how-to with some pictures below, but really IAmBaker is where it’s at if you want to make buttercream rose everything!
The second piping technique I first saw on Martha Stewart’s website. It’s super easy, but looks super lovely, especially with tall cakes. The only thing is your hand can get mighty tired by the end of it! Piping icing onto large cakes is not for the faint of heart (or weak of forearm).
You can use either of these techniques on any sort of layer cake. I prefer cream cheese buttercream for the taste, but you can use any type of buttercream whether it’s a swiss meringue or a classic American style one. I’ve posted the recipes for both of the cakes on my blogs previously. The carrot cake recipe (with the recipe for cream cheese icing) can be found here, and the chocolate cake can be found here.
Buttercream Roses
Adapted from IAmBaker.net
You will need:
- 1 recipe of cream cheese icing (enough to ice a 2 layer 8″ cake)
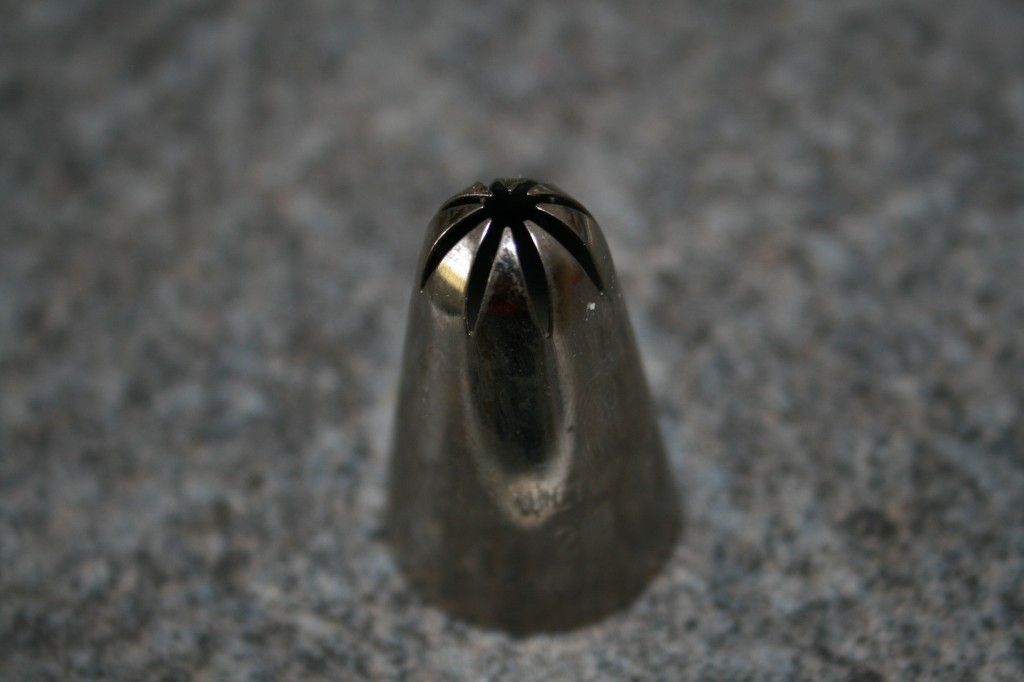
- D2 wilton tip (basically a large star tip, you can purchase one in the UK here)
- Large piping bag
- 1 8″ two layered cake, filled and crumb coated
Instructions:
First, snip the end off of your piping bag so that the 2D tip sits snugly and securely at the bottom of your bag.
Fill the bag half way with buttercream. I find it’s easier to fill if you put the piping bag in a pint glass with the edges pulled down over. It’s important you don’t overfill the bag (speaking from experience), as otherwise you’ll find it too difficult to squeeze out the icing.

I find it easier to fill a piping bag if it is supported by the pint glass. The green icing is for the ruffle cake, but I filled the other piping bag in the exact same way.
Below is an image of what you’re aiming for. I think it’s a good idea to do one or two practice roses before you start. It’s must easier to scrape the icing off of a plate than it is to scrape it off the side of the cake if you’re not happy with the results. It will also give you an idea of the icing consistency and how much pressure you need etc.
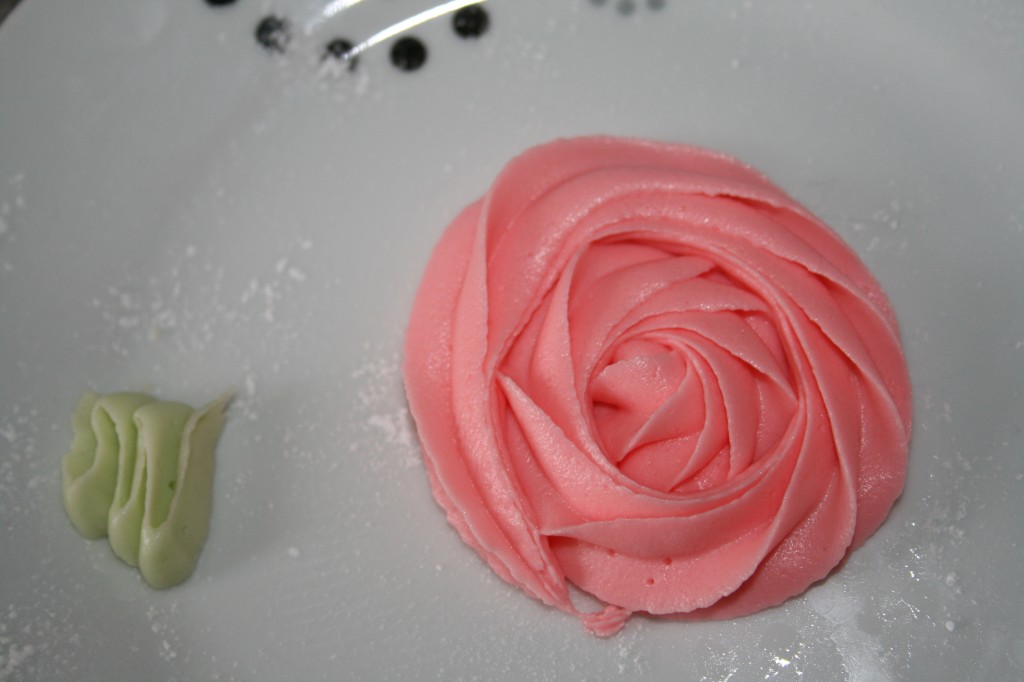
It's always a good idea to do a practice on a plate before you start to get an idea of the consistency of the icing and to get back into the swing of using the right pressure and motion.
To make the rose, hold the piping bag perpendicular to the side of the cake, over where you want the centre of the rose to be. In this instance, I am going to make two rows of roses, so the tip of my piping bag is approximately 1/4 up the cake.
Applying pressure to the piping bag, move your whole arm (ie. not just your wrist!) in a smooth circular motion, spiralling outwards from the centre of the rose. I normally go in a counter clockwise direction, but it really doesn’t matter.
Continue to swirl around your the centre until the rose is the desired size. Takes a bit of practice, but it’s best to use a smooth and steady motion so that the icing sticks to the side of the cake.
Pipe roses all the way around the bottom of the cake. Then, pipe a second layer of roses on top of the first row. I piped the roses in between two roses on the first row, so that it filled in the gaps better. Don’t worry about leaving small gaps in your icing – we’ll take care of those later.
Finally, pipe roses over the top of the cake. Most of the time, I wouldn’t have a two tiered cake and I would just cover the entire top in roses, exactly as I had done for the sides.
Once you have finished piping your beautiful roses, the final step is to fill in any gaps in the icing. To do this, pipe little “swishes”, following the direction that the adjacent rose is swirling in. You can also pipe smaller rosettes in larger gaps if you like.
And you’re finished! As easy as that. Just don’t let anyone else realise that – you obviously slaved for hours creating each individual rose. ;)
Buttercream Ruffles
You will need:
- 1 recipe of cream cheese icing (enough to ice a 2 layer 8″ cake)
- a petal tip (a small triangle), I used a 103 Wilton tip
- Large piping bag
- 1 8″ two layered cake, filled and crumb coated
Instructions
Insert the tip into the piping bag and snip off the end so that it fits snugly. Half fill the piping bag with icing. It’s much easier to refill your bag than to try and pipe with a bag that is overfull.
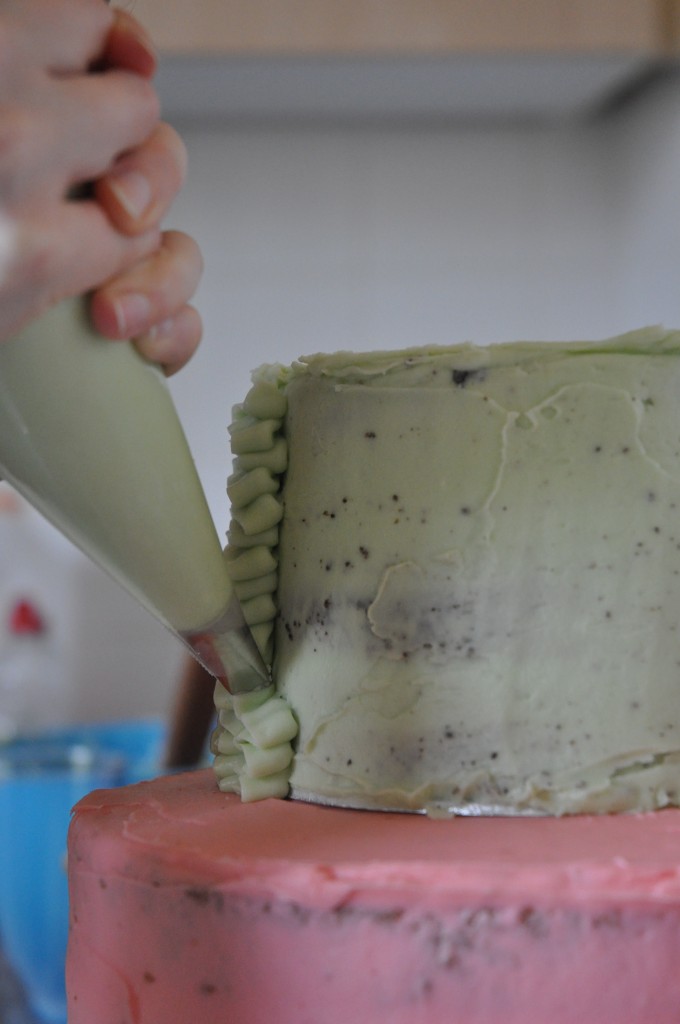
Hold the piping bag such that it is parallel to the side of the cake (but be careful not to touch it!), with the base of the triangle inwards towards the side of the cake.
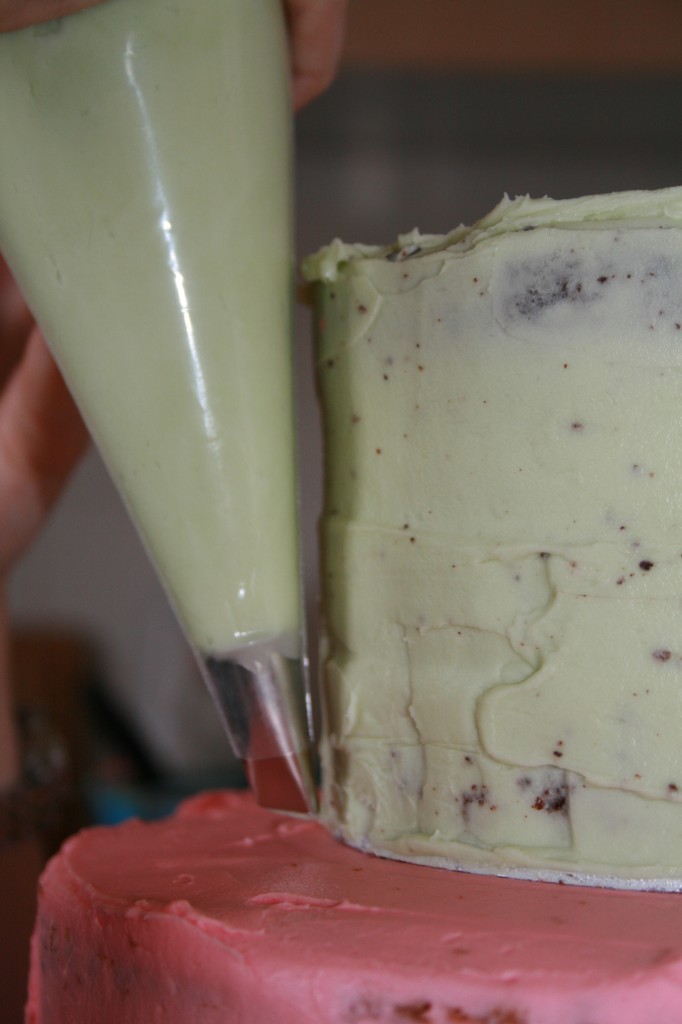
Hold the bag parallel to the cake with the base of the triangle closest to the cake and the narrow bit closest to you.
Applying medium pressure with your hand, move the tip horizontally back and forth, making a zigzag approximately 1″ in width. Move your hand upwards as you zigzag back and forth until you have a beautiful ruffle that reaches the top of the cake. If your hand gets tired you can always pause halfway up the ruffle and start again. It’s not noticeable amongst all the ruffles where you stopped/started piping.
Keep going until you have covered the entire cake!
When you have finished, you can either choose to leave the top of your cake smooth and “unruffled” or you can pipe ruffles onto the top just as you did the sides. I started from the outside and worked my way inwards, but in hindsight it might have been easier to start at the centre and move outwards. When you pipe the ruffles on the top, once again have the base of the triangle on the tip closest to the side of the cake. The tip of the triangle will be facing up in the air towards the ceiling.

Hold the bag so that the point of the triangle is closest towards you and the base of the triangle is against the cake. Pipe the ruffle in a zigzag motion exactly as you did up the side of the cake.
Pipe concentric circles until the entire top of the cake is covered.
Woohoo! Now you’re done! Another simple but powerful piping technique to make your cakes look stellar. :)
Happy Baking!






Comments are closed.