I’ve had the idea for this cake in my head for a while. If you know me at all, you’ve probably heard me talk wistfully about some cake or other baked good that I’ve been thinking about making. My inspiration usually comes from something I’ve seen on a food blog, or whilst wasting time on Foodgawker or something. But sooner or later an idea lodges itself in my brain and usually refuses to budge until I’ve made it. I’m not kidding when I say sometimes I’m so preoccupied by dreaming up my next cake I can have trouble falling asleep. Once I was kept away well past midnight contemplating a chocolate mousse that I was going to make for a baking class.
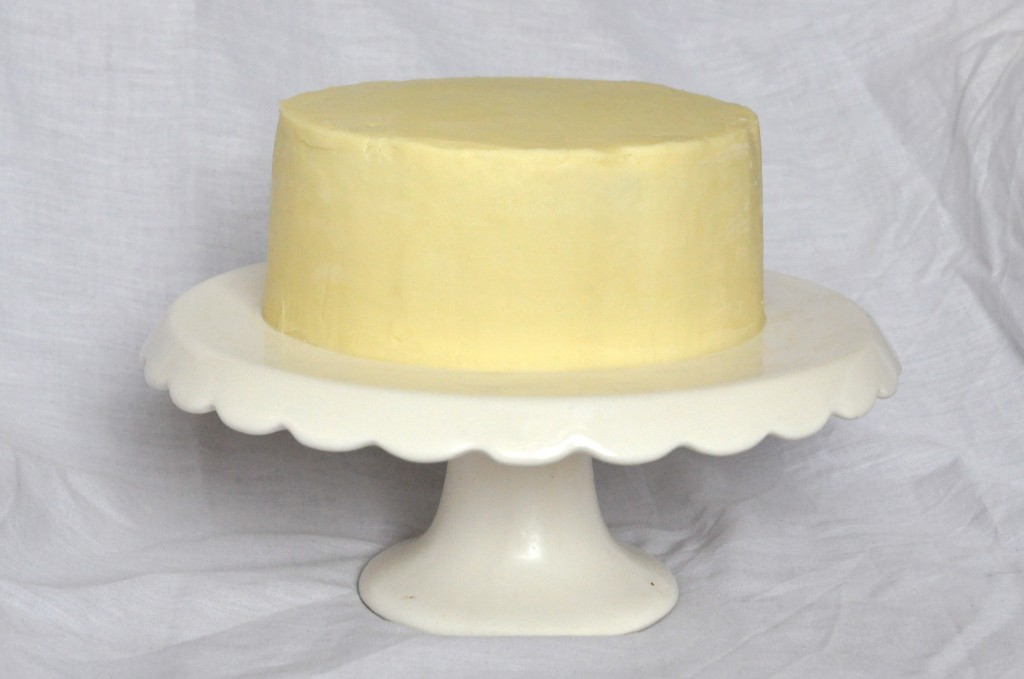
The idea for this cake was born after watching a Youtube tutorial on how to ganache a cake (yes, I browse Youtube for cake making tutorials…). I loved how crisp the edges of the cake were and it was covered in freaking white chocolate! The last few cakes I’ve made have been iced with a cream cheese buttercream, and although it is delicious, it’s not freaking white chocolate. All over a cake. It had to be done.
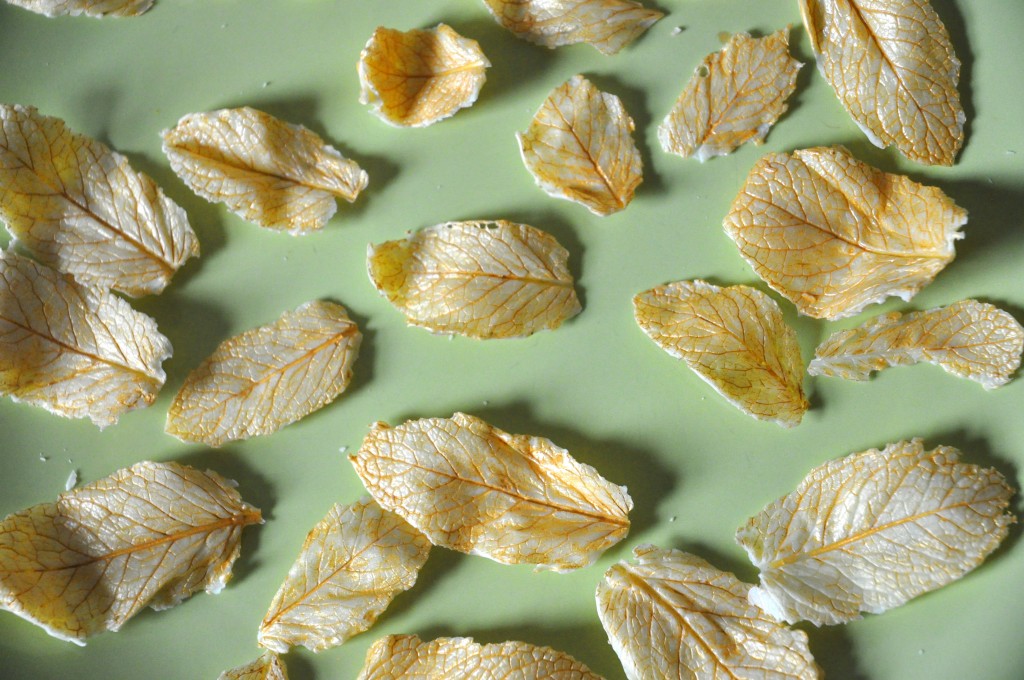
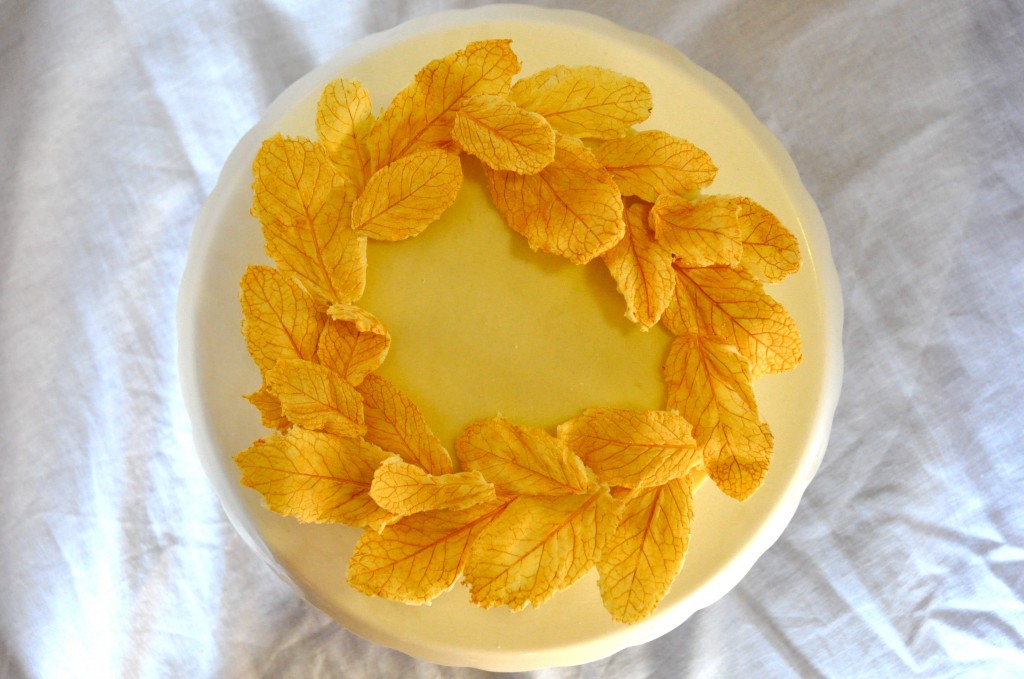
Beautiful golden leaves. Made by painting the back of mint leaves with white chocolate, then peeling off the leaves, and brushing them with edible gold dust.
I got the idea for the chocolate leaves from a recipe on Martha Stewarts website. It uses dark chocolate, but I liked the idea of an all white (well, off-white) cake. However, then I watched a video tutorial on how to make gold royal icing by “painting” it with a mixture of edible gold dust and vodka. I then knew that not only did I have to make these chocolate leaves, but they had to be gold.
Once I have the concept of a cake in my head, the next requirement that must be met before I can bake it is a excuse to make it. Luckily, it is perfectly acceptable to invent a reason. :D More than once I’ve had a “party” simply because I wanted people to eat the cake I had made. Fortunately, I had made plans to have dinner with a few friends this past week. Problem solved. (I should point out that they didn’t raise any objections when I proposed this plan to them)
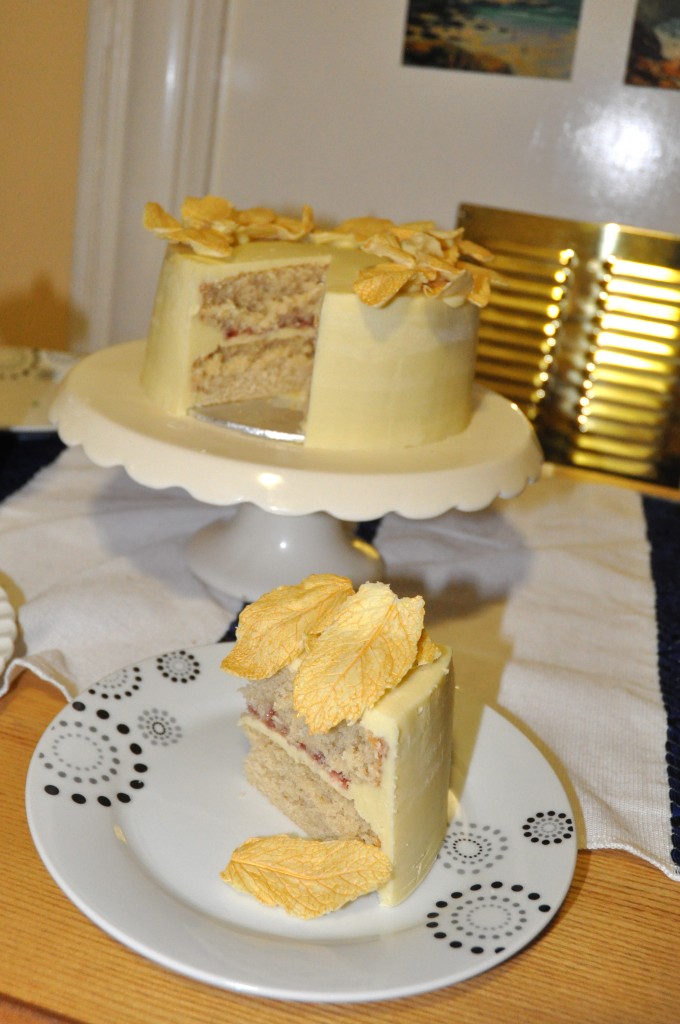
The cake itself is adapted from Dorie’s Perfect Party Cake. It’s a great basic recipe for a vanilla cake that I used a few times a little while back. I chose it because I wanted a simple cake that wouldn’t overwhelm the quite mild flavour of the white chocolate – Â the ganache was to be the main focus of the cake. I put raspberry jam in the centre just to cut the sweetness of the white chocolate a little bit and to give just a hint of colour.
So with a cake in mind and an excuse to eat it, all I had to do was make said cake. I used a 1:3 ratio of double cream to white chocolate after trawling the interweb.  However, what I did not expect was for my ganache to separate!!! I watched in horror as my beautiful, satiny emulsion of cream and white chocolate mutated into an gooey, greasy, unappetising mass. Luckily, google saved me again. A quick search revealed that I was not the only one to suffer this fate – there was a solution though. With a quick prayer to the baking gods, I poured in a bit of my left over cool double cream and vigorously whisked it together. Almost 100ml extra of double cream later, I let out a sigh of relief as it came together once more. So, in reality, although I meant to have a 1:3 ratio, it was more like a 1:2 ratio of cream to chocolate. The recipe below is for the 1:3 ratio because theoretically that is the correct ratio – just make sure you have some extra cream on hand in case it all goes pear shaped.
Vanilla Cake
adapted from Dorie’s Perfect Party Cake
makes one 2 layer 6″ cake
Ingredients
- 1 cup plus 1 tbsp of all purpose/plain flour
- 1 1/2 tsp baking powder
- 1/4 tsp salt
- 1/2 cup plus 2 tbsp buttermilk (just add a few tsp of white vinegar or lemon juice to the milk)
- 2 large egg whites
- 3/4 cup white sugar
- 2 oz/1/4 cup unsalted butter, softened
- 1 tsp vanilla extract
Instructions
- Preheat the oven to 175C/350F. Butter and flour two 6″ cake tins and line with buttered and floured baking parchment. You can find a tutorial on how to do that here.
- Sift together the flour, baking powder and salt in a medium sized mixing bowl. Set aside.
- Cream together the butter and sugar until light and fluffy, beating on high for 2-3 minutes. Add the vanilla extract and beat together for another 30 seconds.
- Whisk together the egg whites and butter milk until frothy.
- With the electric mixer on medium, gradually add 1/3 of the flour mixture. Mix well. Then, with the mixer still running, add 1/2 of the milk/egg mixture. Then add 1/2 of the remaining flour mixture (ie. the second 1/3) and mix until combined. Add the rest of the milk mixture and mix well. Finally, add the remaining 1/3 of the flour mixture. Confused?
- Mix on medium for another 2 minutes to ensure the batter is well aerated and thoroughly mixed. Divide evenly between the two prepared baking tins.
- Bake in the preheated oven for 25 minutes or until a tooth pick inserted into the centre of the cake comes out clean. Let cool in the pans for 10 minutes before turning them out on a wire rack to cool completely.
White Chocolate Ganache
makes enough to very generously cover a 2 layer 6″ cake
Ingredients
- 600g good quality white chocolate
- 200ml double cream (have some extra on hand just in case you run into separation issues like I did…)
Instructions:
- Chop your chocolate as finely as possible and place in a large mixing bowl. Tedious, but you’ll thank yourself later when the chocolate melts much more easily.
- Heat the double cream in a saucepan over medium heat until it just boils. Once you see small bubbles forming all around the edges, take it off the heat and pour it over the chocolate. Let sit for a few minutes.
- With a wire whisk, gently stir the chocolate and cream together until the chocolate is completely melted (theoretically). In reality, you may end up with a separated, greasy lump of half melted white chocolate. Fear not! Just remember the cool cream trick and hopefully your ganache will still be saved!
- Cover with cling film (press the cling film directly against the surface of the ganache) and leave on the counter overnight to set.
Ganaching the Cake
I recommend watching this youtube tutorial. It’s got some great advice, and “how to ganache a cake” is also worth a google. This was my first time trying to ganache a cake with room temperature ganache (vs. pouring it over a cake), so I definitely have room for improvement.
Helpful Equipment To Have:
- 6″ cake board
- cake turntable
- small offset spatula
- cake side scraper
- bowl of hot water + lots of paper towels
- disposable piping bag
Necessary Ingredients:
- enough ganache to cover and fill a 6″ cake (see above)
- two 6″ cakes
- seedless raspberry preserve
Instructions:
- Make sure your ganache is the right consistency. It should be the consistency of peanut butter, ie. easily spreadable but not so runny that it doesn’t hold it’s shape when spread on the cake. If your ganache has set too much, just microwave it at about 10 second intervals until it is the desired consistency. If at any point it gets too firm when you’re icing your cake, just microwave it again.
- Smear a bit of ganache on the bottom of your cake board. Place 1 layer of cake smooth side down/dome side up on to the centre of the cake board.
- Fill your piping bag with about 2/3 cup of ganache. Pipe a thick border around the edge of your cake. This will be a dam that keeps your filling in and prevents any smearing of raspberry jam on the side of the cake. Spread a thin layer of ganache over the top of the bottom layer. Top with a thin layer of raspberry jam, making sure it doesn’t spill out over the edges of your dam.
- Place your second layer dome side down on top of the first layer.
- Crumb coat your cake with ganache and put in the fridge for 5-10 minutes.
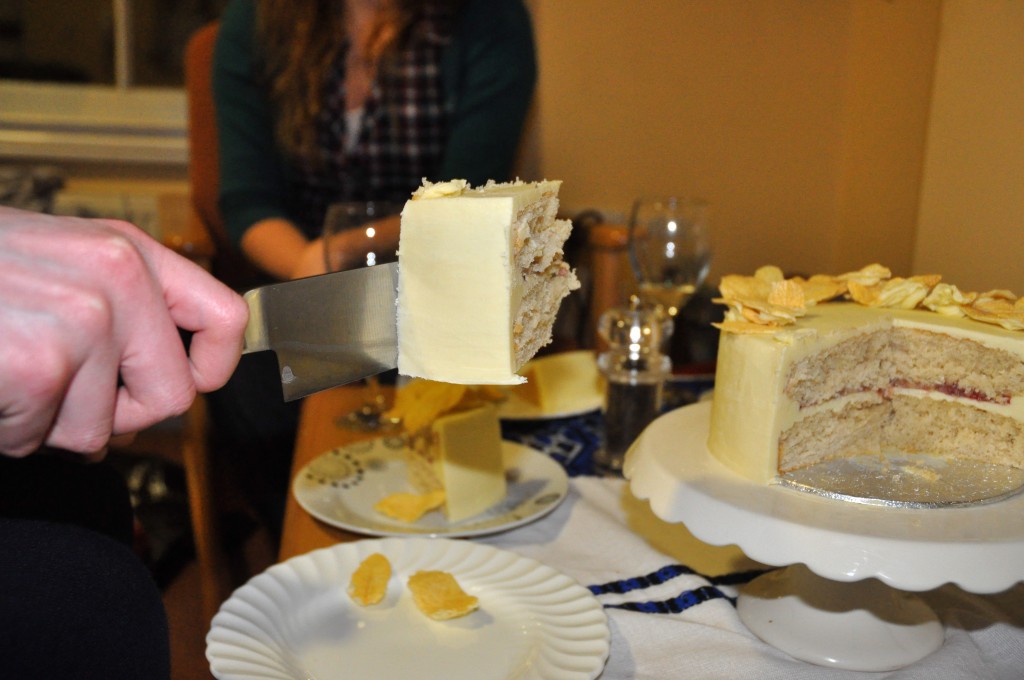
- Apply ganache to all sides and the top of the cake using an offset spatula. You can use a side scraper to get really smooth edges if you like. Watch the youtube tutorial for details.
- Dipping the offset spatula/cake scraper into hot water and then wiping dry will help you smooth out any areas of roughness on the cake so you get a nice clean finish.
Happy Baking! A tutorial of how to make the leaves will follow shortly. :)
Comments are closed.