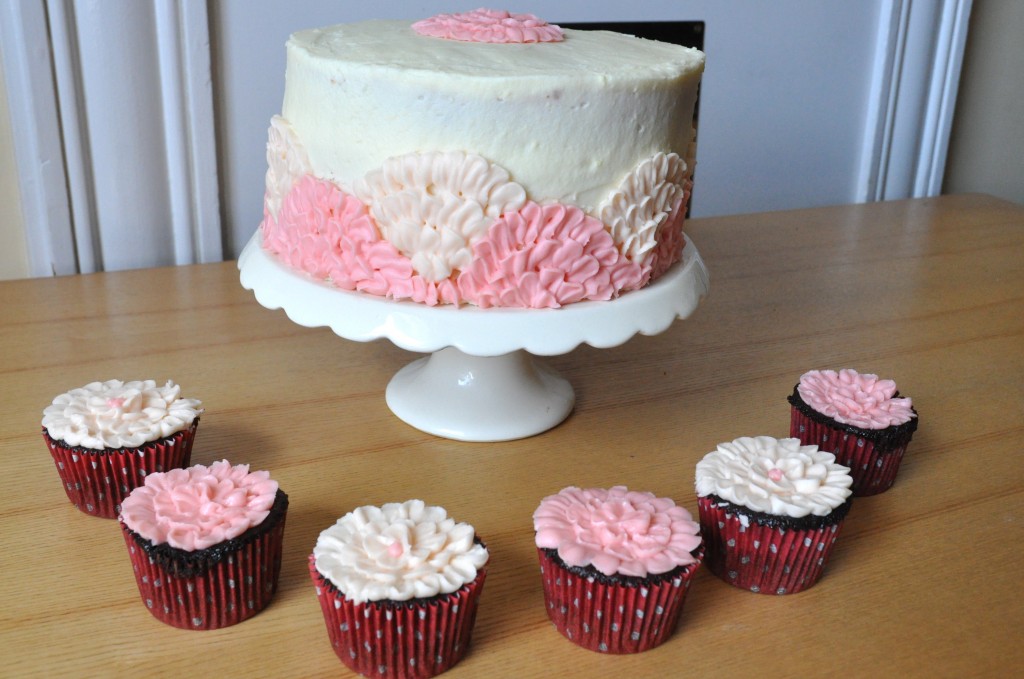
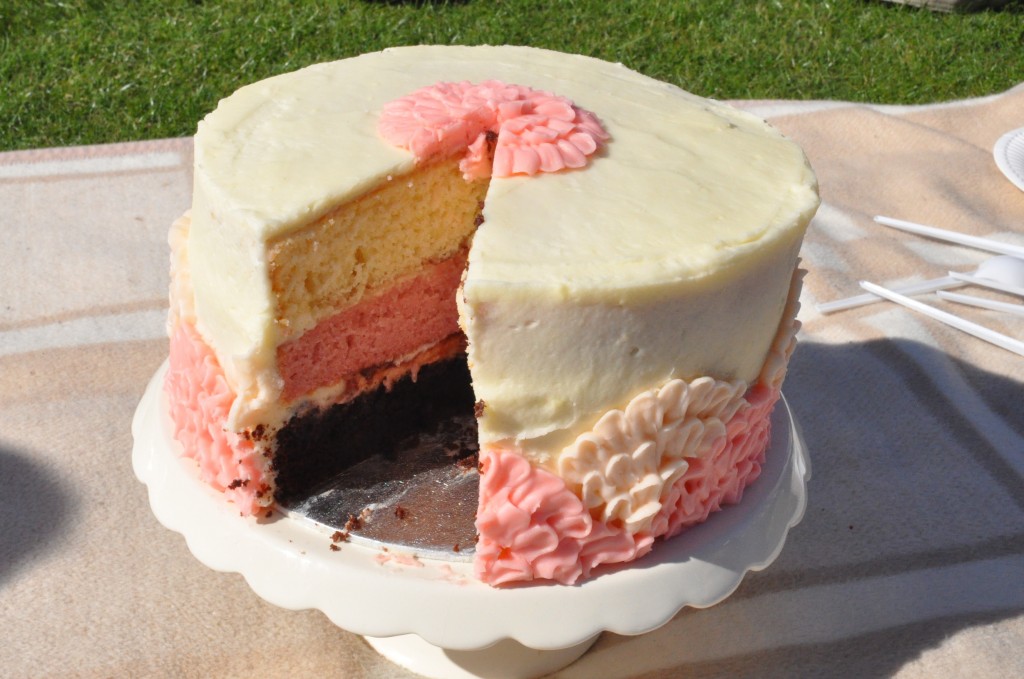
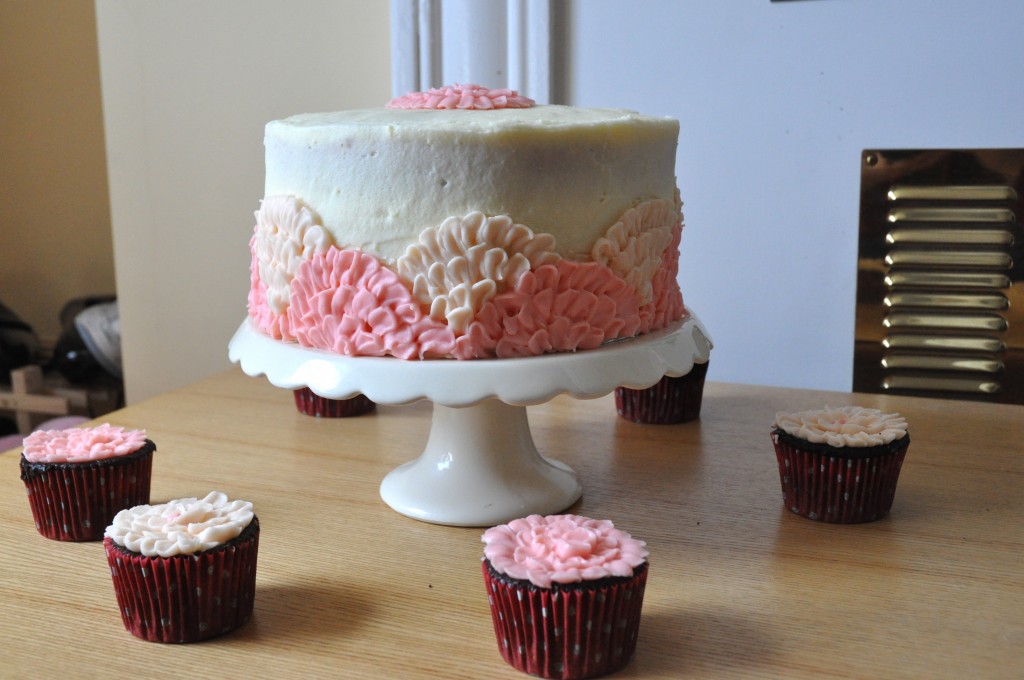
When people hear ‘Neopolitan’, they often associate it with the chocolate, strawberry and vanilla ice cream of their childhood — I know I certainly do (I also used to think it was ‘Napoleon’ ice cream). This is a cake version of that popular flavour combination, with a layer of chocolate cake, strawberry cake, and vanilla cake. Â The strawberry cake has strawberry puree in it, although I also put some strawberry jam between the layers to give it a stronger flavour.
The inspiration for the icing once again came from Martha Stewart. Â I was browsing through the wedding cake section and came across this wonderful cake. I knew I couldn’t attempt something as ambitious as that three tiered beauty, but I desperately wanted to try out the piping technique. Â It looked so elegant and sophisticated. Â Also, I already had a petal tip (the same one I used for my ruffles cake), and I knew this cake would be a chance to practice piping flowers.
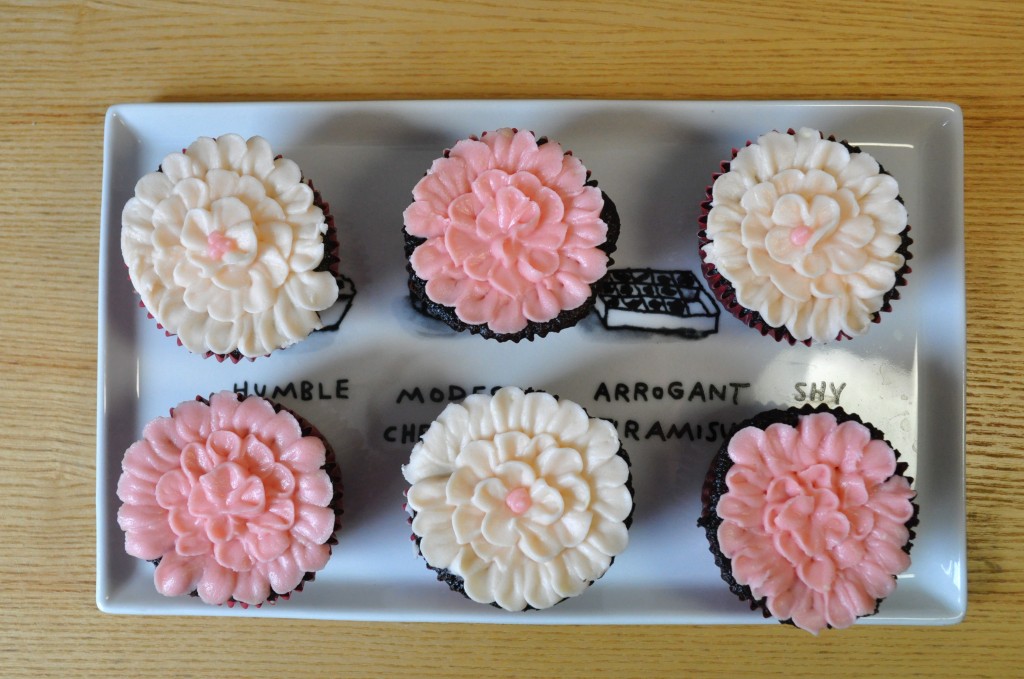
I will warn you that this is not a cake to be whipped up in a few seconds. It takes time to bake the separate layers, time to prepare the icing, and lastly, lots of time to pipe all those petals! But this was my post exam treat (both figuratively and literally) and I find baking after exams very therapeutic, so I was happy to put in the effort. I made some cupcakes with the extra batter from the chocolate cake and they were great for practising the petals before moving on to the cake. :)
I invited some friends over and since it was gorgeous outside we went across the street to college and had a picnic in the sunshine. I hope those who ate the cake enjoyed it as much as I did! :)
Neopolitan Cake
makes one 3 layer 8″ cake (will feed 16-20 people)
Chocolate Cake
Makes 2 x 8″cakes or 1 x 8″ and 12 cupcakes (freeze the other layer/cupcakes or halve the recipe if you only want 1 cake)
Ingredients:
- 1 3/4 cups all-purpose flour
- 2 cups white sugar
- 3/4 cup unsweetened cocoa powder
- 2 teaspoons baking soda
- 1 teaspoon baking powder
- 1 teaspoon salt
- 2 eggs
- 1 cup strong brewed coffee
- 1 cup buttermilk (1 cup milk with a few tsp of white vinegar/lemon juice)
- 1/2 cup vegetable oil
- 1 teaspoon vanilla extract
Instructions:
- Preheat oven to 350 degrees F (175 degrees C). Prepare an 8″ cake tin as described previously. Line a 12 cup muffin pan with cupcake liners if not making two cakes/half a recipe.
- In large bowl combine flour, sugar, cocoa, baking soda, baking powder and salt. Make a well in the center.
- Add eggs, coffee, buttermilk, oil and vanilla. Beat for 2 minutes on medium speed. Batter will be thin. Divide equally amongst the two cake tins/muffin pan. Only fill the cupcake liners about 2/3 – I filled them a bit to much and some of the cupcakes overflowed! :(
- Bake at 350 degrees F (175 degrees C) for 40-45 minutes (cupcakes bake for ~25 min), or until toothpick inserted into center of cake comes out clean. Cool for 10 minutes, then remove from pans and finish cooling on a wire rack. Fill and frost as desired.
Strawberry & Vanilla Cakes
Ingredients:
- 2 1/4 cup cake flour (Substitute: add 2 tablespoons of cornstarch to a cup, then fill until level with all purpose flour)
- 1 Tbsp baking powder
- 1/2 tsp salt
- 1 1/4 cup buttermilk (add a few tsp of white vinegar/lemon juice to the milk)
- 4 large egg whites
- 1 1/2 cups sugar
- 1 stick (or 1/2 C or 4 oz.) unsalted butter, at room temperature
- 1 tsp vanilla extract
- 1/3 cup strawberry puree (about 5-6 large strawberries)
- a few drops of red food colouring
Instructions
- Prepare two 8″ cake tins as described perviously. Preheat the oven to 350F/175C.
- Sift together the flour, baking powder and salt in a medium bowl. Set aside.
- Whisk together the buttermilk and egg whites. Set aside.
- Cream together the butter and sugar for 3 minutes, or until very light and fluffy. Beat in the vanilla extract.
- With the mixer on med-low, add 1/3 of the flower mixture and mix well. Next, add 1/2 of the milk mixture and mix until well combined. Add 1/2 of the remaining flour mixture (ie the second 1/3) and mix well. Add the remaining milk mixture. Add the rest of the flour mixture and continue to beat on medium speed for another 2 minutes.
- Pour half of the batter into one of the prepared tins. Stir in the strawberry puree and a few drops of red food colouring into the remaining batter. Pour into the second cake tin.
- Bake in the preheated oven for 30-35 minutes or until a toothpick inserted into the centre comes out clean. Cool in pans for 10 minutes before turning out onto a wire rack to cool completely.
Cream Cheese Icing
Makes enough to generously frost a 3 layer 8″ cake and 12 cupcakes
Ingredients:
- 375 g unsalted butter, room temperature/softened
- 375 g cream cheese
- 1.5 tbsp vanilla
- 1.25 kg icing sugar, sifted
- 1 tbsp milk
- red food colouring
Instructions:
- Cream together the butter, cream cheese and vanilla until smooth and fluffy.
- Gradually add in the sifted icing sugar, bit by bit. Don’t add too much at once or you will find yourself lost in a cloud of icing sugar!
- Add the milk if necessary. Sometimes you need more milk, sometimes less. Just aim for a smooth, fluffy consistency that’s easy to spread. Frost your cake as desired!
- Reserve about 3 cups (just an estimate… I’m afraid I didn’t measure) and lightly tint with red food colouring to achieve the desired colour.
Assembly:
You will need:
- 1 recipe of cream cheese icing (see above)
- 1 chocolate cake
- 1 strawberry cake
- 1 vanilla cake
- ~1/2 cup strawberry jam, stirred vigorously so that’s easily spreadable
Helpful but optional:
- cake turntable
- 8″ cake board
- 1 small offset spatula
- cake side scraper
- Wilton #103 tip (or any petal tip)
- Disposable piping bag
- 1 3-4″ round cookie cutter
Instructions:
- Spread a dab of icing onto the cake board/plate and place the chocolate layer domeside up on top of it. The icing makes the cake stick to whatever you’ve placed it on.
- Pipe a thick line around the edge of the cake. This a “dam” that will keep your filling inside the cake. Spread a thin layer of icing over the top layer. Spread half of the strawberry jam over the icing.
- Place the strawberry cake domeside up over the chocolate layer. Fill as described previously.
- Place the vanilla layer dome side down over the strawberry cake. Gently press down with your hand to make sure it’s level.
- Crumb coat the cake and place in the fridge for 15 minutes or so.
- Whilst the cake is in the fridge, now is a good time to practice those petals! I frosted a few cupcakes to get the hang of the technique. Instructions on the actual technique (with pictures!) can be found here.
- Take the chilled, crumb coated cake from out of the fridge. Frost it with another thin layer of icing. Remember, you’re going to be piping on a lot of petals, so it’s best to try and keep the base layer of icing as thin as possible so it doesn’t get sickly sweet. Place cake back in the fridge for another 5-10 minutes.
- Next, press the round cookie cutter against the side of the cake so you get a semi-circle that reaches halfway up the cake. Make semicircles around the entire circumference of the cake. Then, press the cookie cutter in between the lower circles to get a semi circle that reaches about 2/3 up the side of the cake. Do this around the whole cake. These semi-circles will be a guide for piping the fans of petals.
- Starting with the higher up fans, pipe rows of petals using the semi circles as a guide. Your rows will get smaller as you move down the cake, until they end in a point. Pipe all of the higher up fans first.
- Using a different colour of icing, pipe rows of petals to fill in the lower semi circles. Try not leave any gaps between the fans higher up and lower down.
- Take breaks! My wrist got quite sore from piping all of those petals! But I’d say the finished product was worth it.
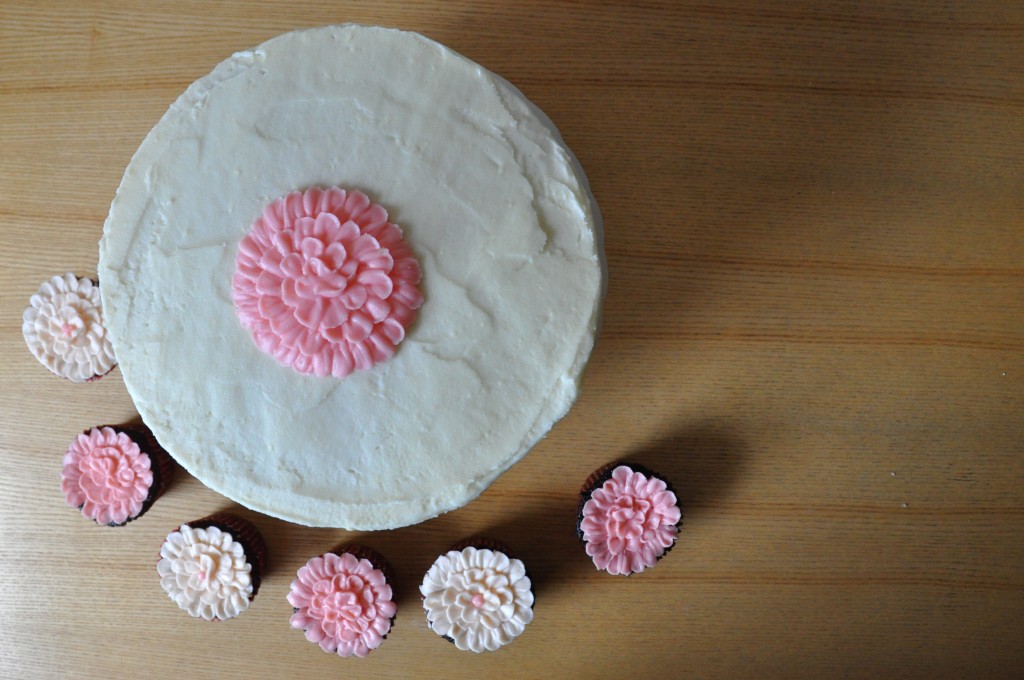
- Optional: pipe a flower on top of the cake. Lightly press a round cookie cutter into the top of the cake to create a guide. Pipe concentric rows of petals, starting from the outside, until the circle has been filled in.
Happy Baking! I hope you are enjoying the springlike weather where ever you may be. :)
Comments are closed.