I’m the type of person that thinks “Hmmm. I haven’t made a cake in three weeks…” and decides that that is way too long a time to go without baking a cake. Yes, I know I’m an odd one, but people tend to benefit from my eccentricity so I haven’t had any complaints yet. :)
I decided to make this cake because I wanted to deviate away from my trusty favourites of Dories Perfect Party Cake, the Cake of Death, and Canada’s Best Carrot Cake. Â These three recipes are my absolute favourite but this blog would get quite boring if every post were just about one of these three recipes.
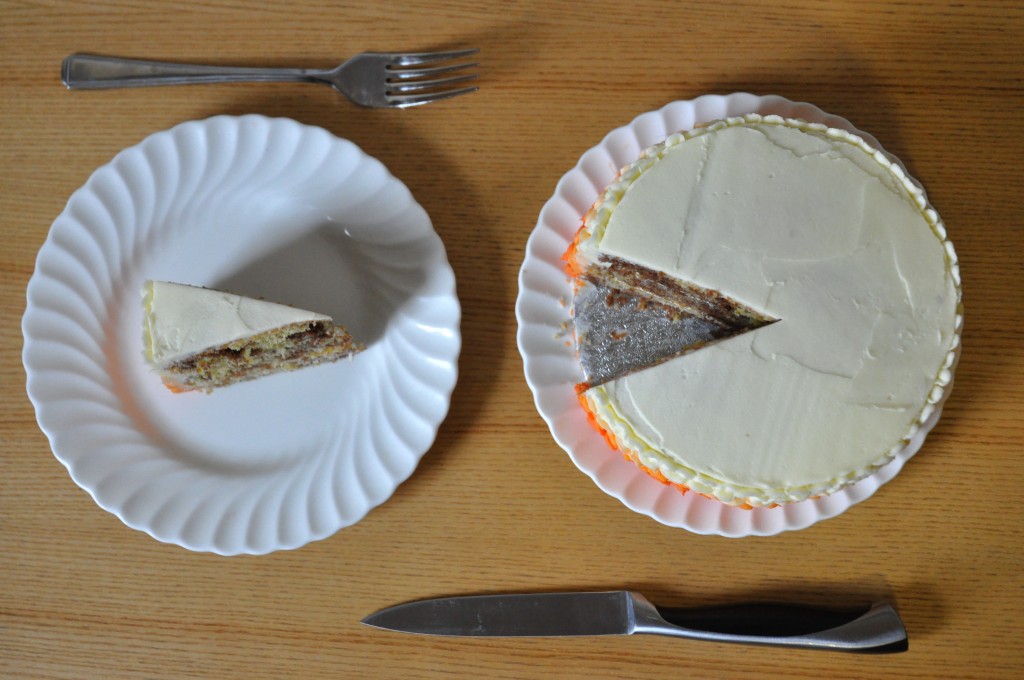
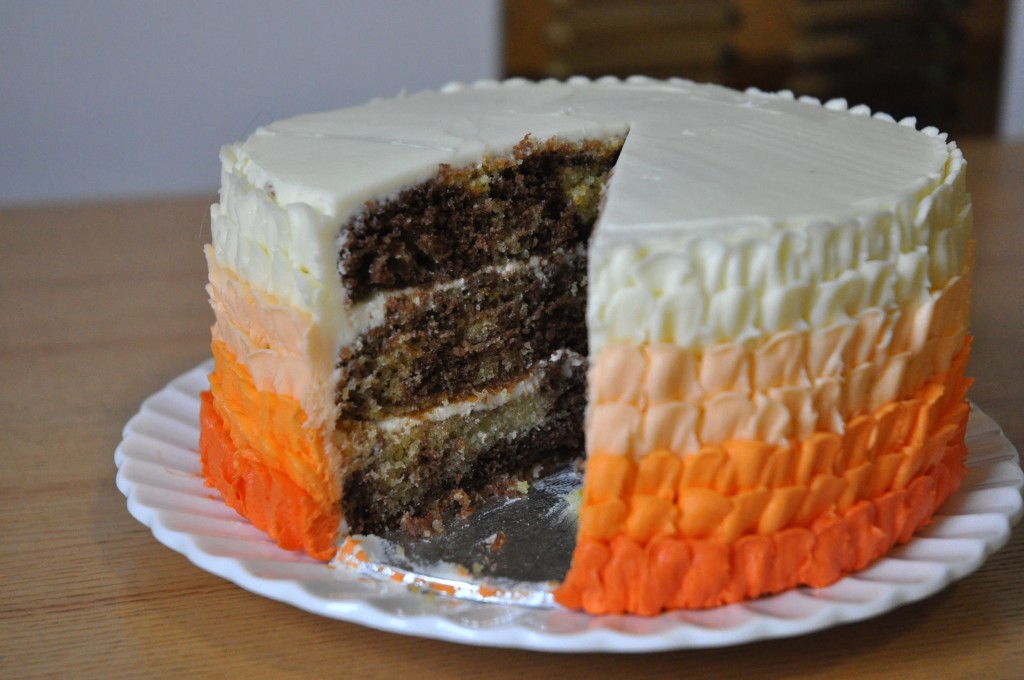
So after a bit of searching, I found a recipe that looked reasonable. It was a chocolate and vanilla marble cake that was originally baked in a rectangular tin. Â I halved the recipe and then realised that it definitely would not be enough for a cake. So, whilst the first two layers were in the oven, I made a quarter recipe for one final layer. The three layered cake is still quite petite, but it is nearing acceptable cake height so that’s okay. It just meant that I love baking so much that I did the washing up twice! (hooray– no.)
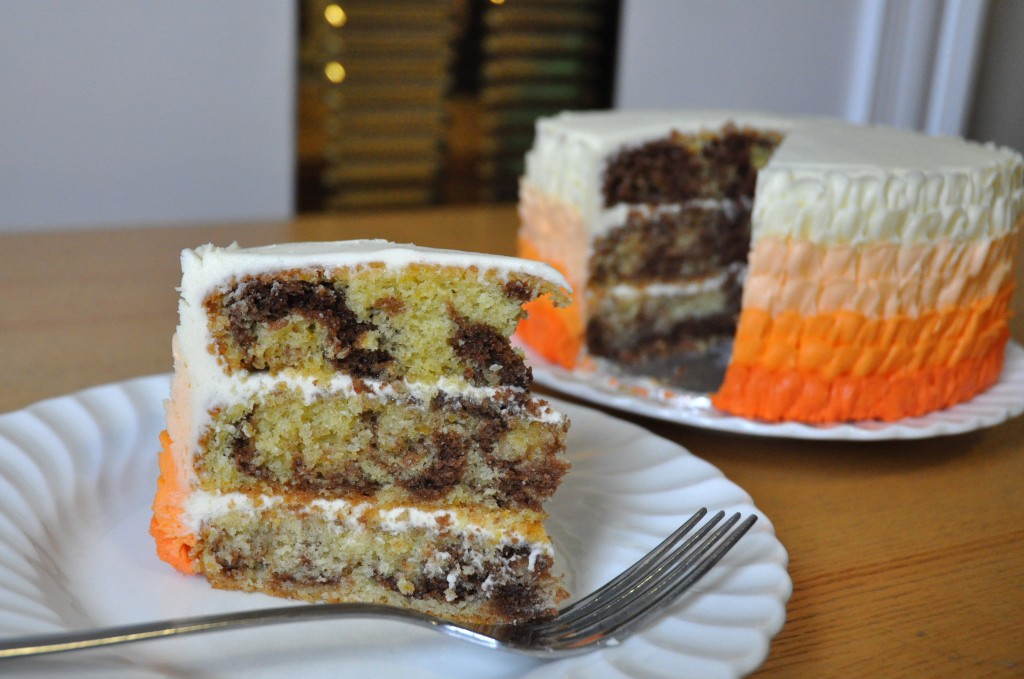
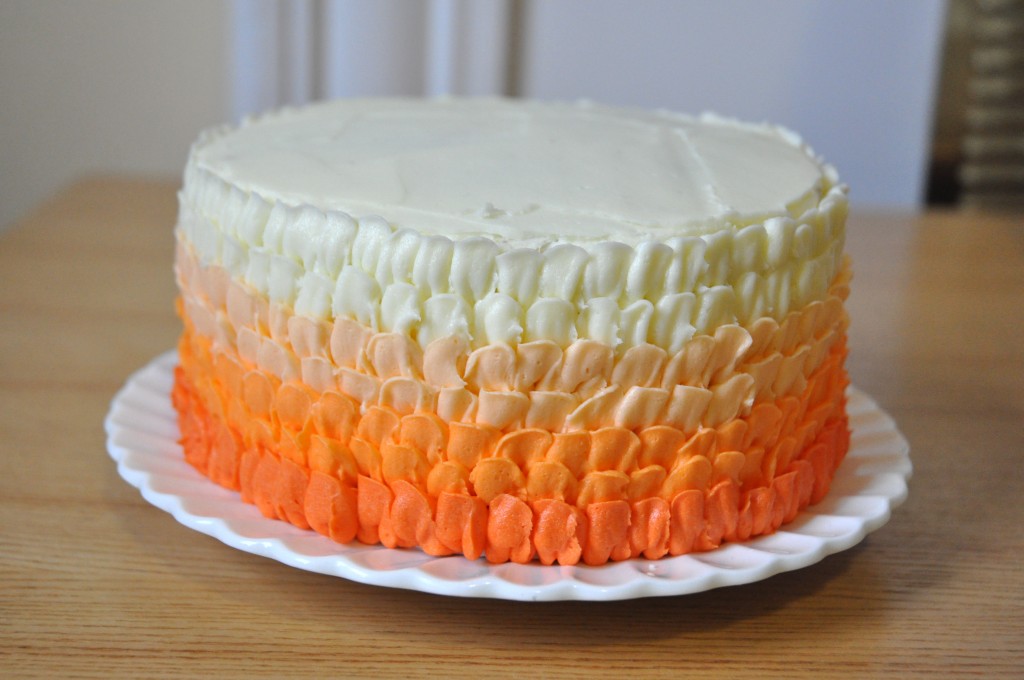
The resultant cake is sturdy but not dense or dry. It has an unmistakably orange flavour, but it is not overpowering. The amount of chocolate flavouring you get depends your slice of cake. If you get a piece that is heavily marbled with chocolate, then a stronger cocoa flavour will come through compared with some pieces that almost don’t taste like chocolate at all. Still, the marbling effect is very visually appealing. I love all the textures and colours with this cake, with the marbled centre, the piped petals, and the ‘icing gradient’.
A little while ago, I made a Neopolitan cake that had piped fans on the sides of the cake. This decorating technique is a variation on that, with rows of petals instead of overlapping fans. Â I absolutely adore this new technique and I think you can expect to see more of it in my future cakes.
I will be posting a tutorial on how to do this decorating technique in a few days. :)
Chocolate Orange Marble Cake
Makes 3 round 6″ cakes
(in the future I’m tempted to just bake it in two pans and increase the baking time)
Ingredients:
- 170g unsalted butter, softened
- 170g white sugar
- 132g self-raising flower
- 1 1/2 tsp baking powder
- 3 large eggs
- 1 1/2 tbsp milk
- 1 1/2 tsp vanilla extract
- 3/4 tsp orange extract
- zest of one orange
- 1 1/2 tbsp milk
- 1 1/2 tbsp hot water
Instructions:
- Preheat the oven to 175C/350F. Butter, flour, and line with baking parchment three 6″ cake tins as described here.
- Sift together the flour and the baking powder in a medium sized mixing bowl. Set aside.
- Add the hot water to the cocoa and mix until it becomes a thick paste. Set aside.
- Cream together the butter and sugar using an electric mixer on high until light and fluffy (~ 1.5 minutes)
- Add each egg one at a time, beating well after each addition. Add the vanilla extract and mix well.
- Add half of the flour mixture and mix until well combined. Add the milk and mix until well combined. Finally, add the rest of the flour mixture and mix thoroughly.
- Pour half of the batter into a medium sized mixing bowl. Stir in the orange extract and orange zest. Mix well.
- Beat in the cocoa paste into the other half of the batter.
- Spoon large dollops of the orange batter so that it is equally divided amongst the three tins. Spoon the chocolate batter to fill in the gaps between the orange batter. Using a butter knife, gently run it through the batter a few times to marble the cake. Do not over mix or you will lose the distinction between the two types of batter.
- Bake on the middle shelf of the preheated oven for 18 minutes. Let cool in the tins for 5 minutes before inverting on a wire rack to cool completely. Ice as desired.
Orange Buttercream
Ingredients:
- 500g icing sugar, sifted
- 250g unsalted butter, softened
- 1 tsp orange extract
- 2 tbsp milk
Instructions:
- Cream together the orange extract and butter until it is fluffy.
- Gradually add in the icing sugar. Make sure the mixer is on low speed initially as otherwise you will just succeed in coating every available surface of your kitchen in a thin layer of icing sugar.
- Continue adding the icing sugar until it is all gone. Add the milk as necessary.
- Beat for another minute or so. You should be left with light, fluffy delightfully orangey buttercream.


